Author Archives: Andrew Ziehl

About Andrew Ziehl

An avid outdoorsman.

A Christmas Day Skin

Your alarm wakes you up at 8 am.  It’s snowing lightly.  On another Christmas morning, maybe you head downstairs and open presents, but not this day.  You make a quick cup of coffee, and eat some sticky oatmeal.  Soon you’re on the road with your favorite tunes playing.

The light winter storm doesn’t slow you down, and the next thing you know, you’re parked and unloading at a familiar place.

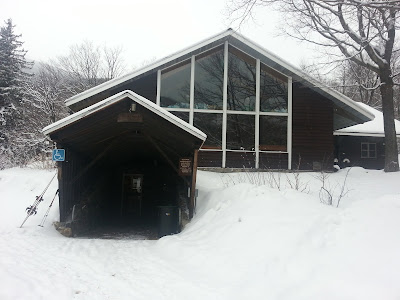
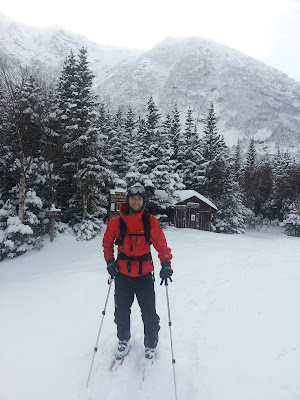
You exchange a Merry Christmas with a few families as you gear up and put your skins on.  When the ranger at the lodge mentions fresh tracks, your heart jumps.

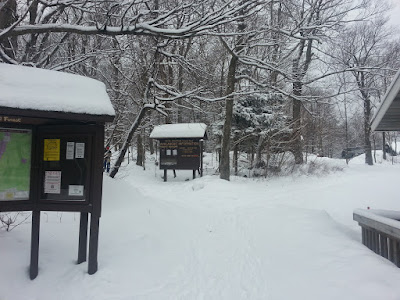
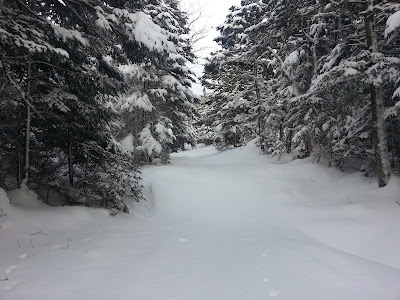
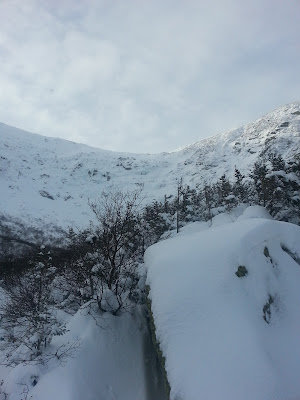
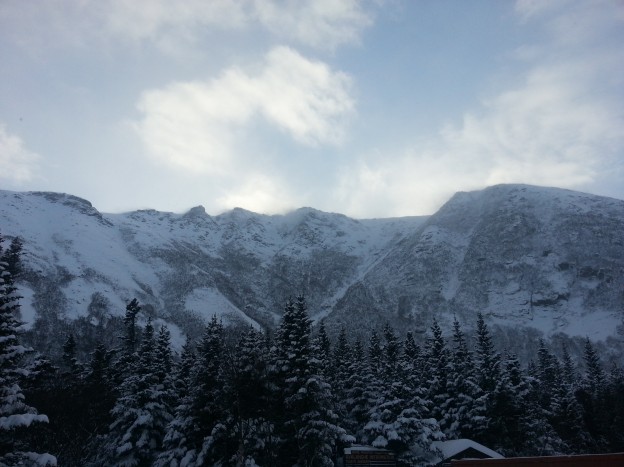
There are a few groups milling about as you click into your skis and leave the trailhead.  You’re immediately greeted by pristine wintry views.

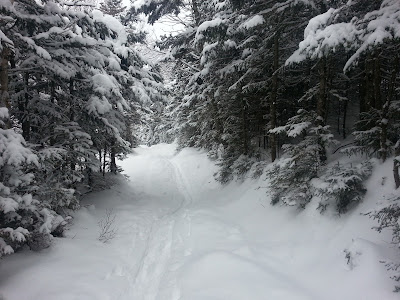
You don’t want to stop, and you don’t have to.  Your skin track trails off behind you as you ascend.

You pass others who are of a similar mind this Christmas day, and before you know it, you’ve reached your destination.  It’s calm, even here, up higher towards the bowl.  You transition, preparing for descent.

As you approach the ski trail, you see your present, just waiting for you.  The Sherburne trail is untouched, with several inches of this mornings light snow.

You grin as you ski down, spraying snow with tight turns.

Merry Christmas.

With my family still living in The Netherlands for the holidays, I had Christmas Day to myself.  The Sherburne had 4″ of fresh snow, which I think was a pretty good Christmas present, especially on the heels of the 22″ storm we caught at Jay Peak.  I still need to get Dynafit bindings, so I was on last years touring set-up.  I’m not the fastest at skinning, but for my own personal records, or those who are curious: I made it up to Hojos in 1:20, the first one to set a track since the snow, though not the first one up the trail.  10 minutes later I was refueled, de-skinned, and had de-iced my bindings while chatting with the caretaker.

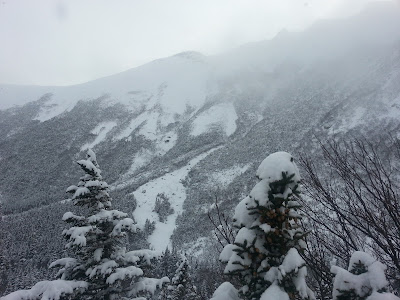
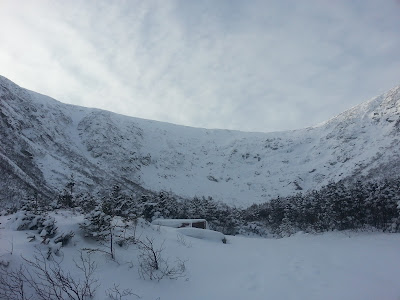
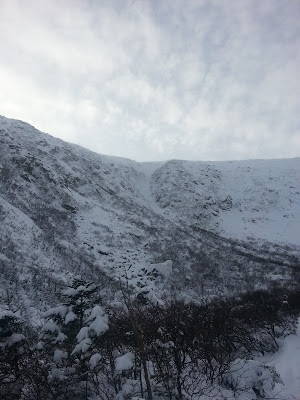
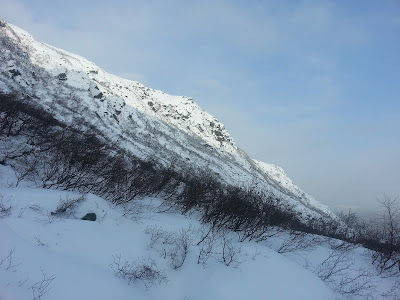
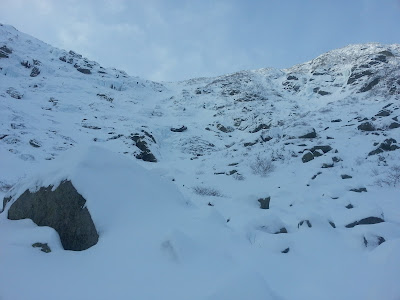
My curiosity got the best of me and I hiked up into the bowl to the lunch rocks to scope it out.  25 minutes after I left Hermit Lake I was at the lunch rocks, the first person to arrive in the bowl for the day. It was very calm, and quiet. The bowl is shaping up, though I expect it will change as there was more new snow last night.

Though my knowledge of snow science is rudimentary, I dug down to check out the layers.  Beneath the new snow there was a variable thickness firm crust, and then 5-6 more crusts beneath that.  The layer immediately under the first crust was fairly unconsolidated.

Enjoy the photos of the bowl!
Grep Prep: Swap Plate Mounting

It’s possible you’ve heard of binding swap plates before.  It’s also possible you’ve even mounted swap plates to your skis a number of times.  If so, this might be old hat to you, but personally this is only the third mount I’ve done.

For anyone new to swap plates: swap plates are machined pieces of aluminum that allow you to swap multiple sets of bindings onto a single pair of skis, such as switching between Tech bindings (Dynafits) and in-bounds or side-country bindings.

Disclaimer:  I’ve never mounted plates before, so I thought it would be useful to document my process. I don’t have any background as a ski technician or working in ski shops, but I do want my skis to be set up as exact and perfect as possible, so I was incredibly careful.  It was definitely a measure a whole ton, drill once, situation.

This year I picked up two new pairs of skis: I perhaps optimistically got a pair of used Praxis Powderboards, and a brand new pair of Blizzard Bonafides.  I’m pretty amped up about both pairs, and my initial reaction to the Bonafides is that there’s nothing not to like, though the real test will be when some big storms hit and touring season begins.  I wanted to dial in both setups and be able to swap my pair of Rossignol 10-18 Axial2s between them, while being able to mount Dynafits as well.  Luckily, Binding Freedom came out with DynaLook plates for just this purpose.

Binding Freedom’s plates come with everything needed for mounting except a drill.  The included templates work great for lining everything up.  I used them last year when Rob helped me mount Fritschi’s on my Helidaddys.

Prior to setting up my own skis, I refreshed my memory using Brian’s post about inserting quiver killers.

Mounting Process

Alright, enough rambling.  Here’s the step by step process for mounting plates to your skis properly:

Before beginning: Grab a drill, bits, a posi-driver (#3 philips screw driver), a hammer, something to punch starter holes with, scissors, masking tape, a sharpie/pen, a ruler, clamps, and a sturdy table to clamp to.

Lay the first ski on the table.

1.  Find the center line on the ski, and determine where you want to mount relative to the line.  Center marking on boot on the line is fine in many cases.  Mark it with a sharpie.

2.  Find the center of the center line, to properly line up the center of the paper template.

3. Cut excess paper off the template, and tape it together at the correct BSL.  It’s also a good idea to cut notches near the BSL marking to properly line the center of the template up with the center of the ski.  I also cut a square out of the center of the template to reveal the markings I’d made underneath.

PlateTemplate

Ski with template cut and taped in a roughly correct position. Notice the sharpie marks at the center line, and the hole cut at the center line.

Template close-up

Close-up of the template.

4.  Do lots of measuring.  Make sure that at least each end, and the center is centered on the ski, aka equidistant from the edge.  I used a T-square and made measurements from the center of each hole to the edge.  As you get the template in the correct spot, tape it to the ski with masking tape.

T-square measuring

T-square measuring each hole position.

5.  Center punch each hole.  Mark it if you want for easier location.

6.  Carefully remove the template.  You’ll want to reuse this for the next ski.  You might want to line up the plates on your hole marks after this to ensure you didn’t miss.

7.  Clamp the ski down.

Clamped and ready for drilling.

Marked center punch marks

Marked center punch marks

8.  Tape a stopper on the bit or use a bit with a catch sleeve, so that you don’t drill too deep.  You certainly don’t want to drill all the way through the ski.

Masking tape depth guide based off the screw length.

9. Drill pilot holes, using something lke a 3/32″ bit.  This is especially important for skis with metal so that the bit doesn’t walk over the topsheet.

Toe piece pilot holes drilled.

Toe piece pilot holes drilled.

10.  Re-drill with the larger bit.

11. Grab the plates and mount them.  Use some sort of adhesive such as super glue, just a bit on each screw to hold it in.

Plate with marked punches.

Another look at the plates lined up before drilling.

12. Repeat for the second ski.

Done!

Completed plate mounting!

Completed plate mounting!

I’ve tested the new setup on the hill, and so far I’ve been happy with my efforts.  Everything seems to be holding together well.

Bring on the snow!

Marking One Off The List

My sister and I had been wanting to hike Mt. Mansfield ever since she started going to school in Burlington.  Last year we considered it but hiked Camel’s Hump instead.  Last winter I thought about laying down some turns off the mountain, but we never caught the snow right, or went to Mt. Washington instead.

Finally, we can mark this off the list, but the mountain wasn’t going to give in so easily.    The day started off right–calm weather near Stowe and hearty breakfast sandwiches.  However, that was the last time we were dry during the hike.  The ascent brought rain, then wind.  Above treeline the gusts must have been upwards of 50-60 mph.

However, we weren’t going to let a bit of rain keep us from having fun.  We hiking along the ridge after ascending via the Long Trail, from the Chin to the road near the Nose

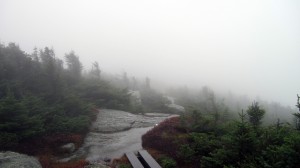
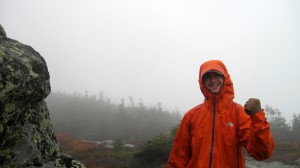
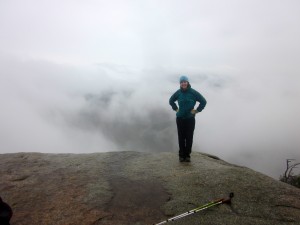
Lots of fog and pelting rain were waiting for us above treeline.

Lots of fog and pelting rain were waiting for us above treeline.


Yes.  Hiking the ridge was more interesting than re-routing on the bad weather routes.

Yes. Hiking the ridge was more interesting than re-routing on the bad weather routes.

We did eventually leave the ridge.

We did eventually leave the ridge.

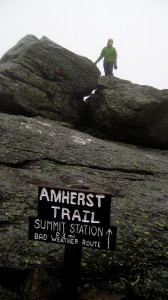
We left the ride on the Amherst trail to the toll road, and then descended on the Hazelton trail which ran through part of Stowe resort.

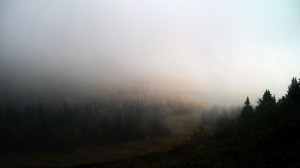
Looking through the fog at Stowe.

Looking through the fog at Stowe.

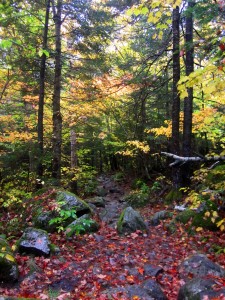
Foliage galore

Foliage galore!

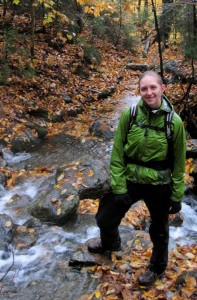
Lots of stream crossings.

Lots of stream crossings.


No snow here...yet.

No snow here...yet.

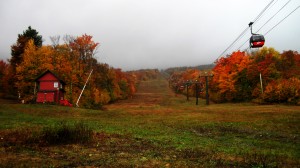
We missed the first real snow on Mansfield by two days! The photos on the FIS website show a little different look at the Stowe gondalas just a few days later.

Done! Time to walk out.

Done! Time to walk out.

Rt. 108 showing its colors.

Rt. 108 showing its colors.

Back at the trail head the weather was much calmer, though still rainy.  After bad weather that greeted us on top, we appreciated the calmer rainfall at the base.

Trip data:

[map style=”width: 400px; height:300px; margin:20px 20px 20px 20px; border: 1px solid black;” z=”14″ gpx=”http://www.ignorethecautionsign.com/wp-content/uploads/mansfield.gpx”]

Mt. Osceola Ascent

Two weeks ago I got some more fall hiking in with Annelise and Sweeney.  This time our goal was Mt. Osceola from the Waterville Valley side.  Sweeney drove up and we got underway pretty quickly.

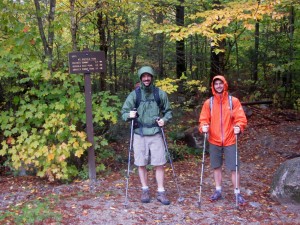
Heading out.

Heading out.

The visibility was poor, and it was spitting rain, but we had a fun ascent up slabby rock, chatting as we went.  There isn’t a good way to make a loop out of it less than 10 miles, especially after Irene tore up some trails to the east.  Because of this, we  planned to double back the way we’d come.

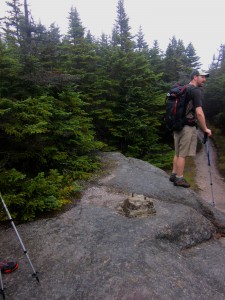
At first we thought this pylon was the peak...with no views to be had.

At first we thought this pylon was the peak…with no views to be had.

Supposedly on top of the mountain are good views–on any other day that would be true.  There is a great outlook ledge where old fire tower pylons remain.

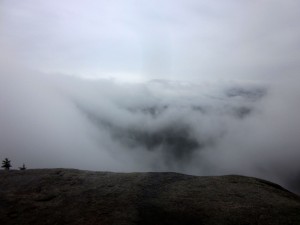
Not much to see here today.

Not much to see here today.


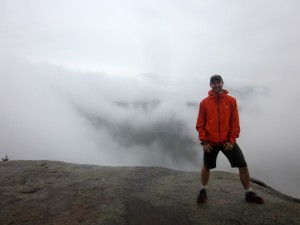
Posing in front of the spectacular view

Posing in front of the spectacular view

We were on a peak after all.

We were on a peak after all.

Sweeney had been hoping to scout out some slides in the area, but we forgot to mark a waypoint before the hike, and with the poor visibility, rummaging through brush didn’t turn up anything interesting.

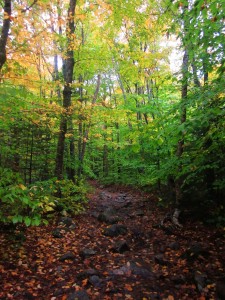
Obligatory foliage shot

Obligatory foliage shot


It's definitely fall in NH.

It’s definitely fall in NH.

Sweeney has a couple more photos from the trip, so hopefully you’ll see an update on his site soon.  All the photos you see here are credit to Annelise.

Trip data including a bit of driving to the trail head:

[sgpx gpx=”/wp-content/uploads/gpx/tripyramid.gpx”]