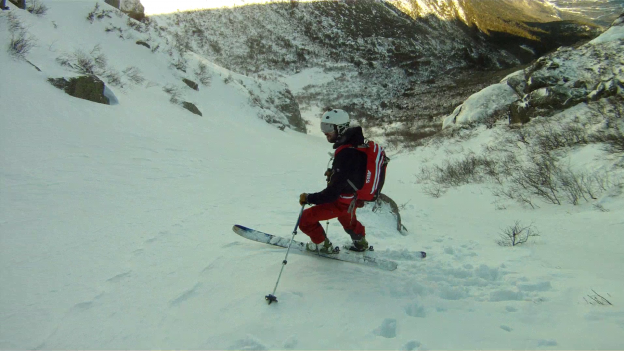
It’s never too late for more video! Finally an edit from my first post-Dynafiddle excursion in which literally nothing went wrong and we had a nice day. Check it out:
Gear List:

It’s never too late for more video! Finally an edit from my first post-Dynafiddle excursion in which literally nothing went wrong and we had a nice day. Check it out:
Gear List:


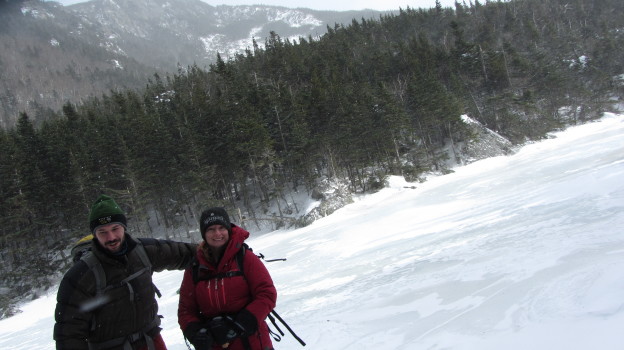
After seeing the promising early season snowpack decimated by the Christmas rain event, Kelly and I opted to skip the resort scene and head out for a light winter hike. Now that we’re committed to a backcountry Montana excursion, some extra conditioning certainly couldn’t hurt. An arctic front was firmly entrenched in the Whites for New Years weekend, bringing with it bitter cold and blustery conditions. Not wishing to repeat our desperate scree-scramble atop Mt. Washington amid gale force winds, we selected a route substantially below treeline: Carter Notch via 19 Mile Brook Trail.
The hike is an 8 mile round trip, out and back. It ascends gently for the first 3 – 3.5 miles, where it briefly climbs over the shoulder of the Wildcat ridge before dipping down in to the Notch. The notch is a pretty spectacular spot: the precipitously steep east flank of the Wildcat Ridge tumbles into two alpine ponds nestled at the bottom of the even steeper Carter Dome. Even though it’s not the majestic summit of some craggy peak, Carter Notch is a worthy day hike destination.
Since we were theoretically trying condition ourselves for the Montana trip, I loaded my 65 L pack up with all sorts of indulgent paraphernalia: puffy pants, a down jacket, down mitts, extra gloves, my shell, a fleece vest, microspikes, crampons, an ice ax, some camera equipment, you get the idea – way more stuff than you need for a low angle, sub-tree-line, day hike. I also brought along my new flexible tripod to experiment with concocting some creative shots in the wilderness. Have a look!
Gear List:

Before Winter 14-15 gets into gear (which seemingly won’t be for a while as of this writing) a couple of nagging issues have to be addressed with our adventure mobile. Firstly, the second generation Xterra in it’s factory configuration tends to bottom out when hauling ass over big potholes and rough roads. No fun when riding to or from the mountains exhausted at 10:30 PM. And second, the infamous Thule tried to sabotage my new carbon fiber skis last winter and such behavior wouldn’t be tolerated again!
The solution to the suspension was simple, however it’s worth giving some backstory. The suspension itself isn’t really bottoming out. I have new aftermarket struts and they seem to have plenty of life in them. After Googling around a bit I discovered that I’m not the first person to complain of this problem (read here and here, or just do some more Googling).
It turns out that the real issue is that there is just not very much clearance between the frame and axle. The factory bumpstops (hunks of rubber which prevent the frame from bouncing directly on the axle) are really firm and frequently collide with the axle giving the passengers a good jolt. One of the suggested solutions (and in my case the least invasive) was to replace the factory bumpstops with an aftermarket set designed to offer progressive resistance, stiffening the ride a bit and smoothing big jolts. You can read more about the solution here and find a solution for your own SUV here. It’s theoretically a simple install, involving only a few wrenches and some bolts, but after many New England winters my undercarriage was so ornery that it needed a professional touch.
The Thule required a bit more engineering. At some point last season my brand new DPS Wailer 99s rattled around in the roof box enough to severely damage one of the tips. After a good deal of staring at my crummy old second-hand Thule Mountaineer, drawing, speculating, measuring and theorizing, we devised a plan. And then we scrapped the original plan and did something else altogether.
The requirements were simple: we had to be able to easily toss at least 4 pairs of skis into the box in such a way that they would not shift around in transit. Thule and other have already solved this problem with their flat top style carriers, but I’ve never liked the idea of sandblasting your skis for 2 – 4 hours while en route to the mountain.
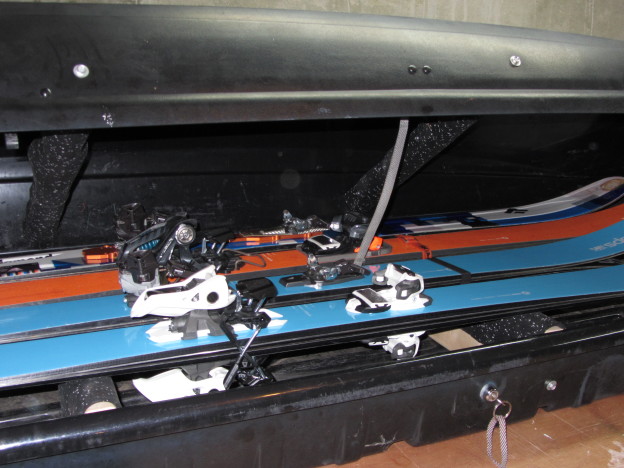
The solution was something of a hybrid between the flat tops and the existing box: we fashioned a set of bars which would mount inside the box and clamp down on 4 pairs of skis when closed. The obvious trade off is that only 4 pairs of skis can ride up top now. Seems like a fair trade off for peace of mind and longevity of equipment. Here’s a run down of the action:

Bolting the bottom braces into the Thule. We placed two bolts on the bottom and one on each side. The sides were strangely shaped, so shims were cut to size and wedged into place to consume the extra space.

Notice that the rubber mats are bolted on the sides of the lumber so that the bolts don’t contact the skis.

Finished product with some big skis, for show. Also, notice the top rails. Those are 2″x4″s ripped in half and wrapped in the same rubber mat material. These are simply bolted on each end.