Last weekend Ziehl and I pulled off our multi-day Bigelow Range / Flagstaff Lake excursion, as per our plan discussed earlier. Our party unfortunately unraveled towards the last minute, with the final roster consisting of just the two of us. We made some quick logistics adjustments (less cars, less boats) and went for it. As it turned out, our shortened roster would actually be the least of our troubles before the end of the trip! The full trip report follows. Friday We decided it might be prudent to get started as early as possible on Friday. The original plan called for a Friday afternoon/evening departure with a goal of accommodating most people’s schedules, but now that our team was down to just two, we amended the plan and hit the road around 10 AM. Ziehl swung by my place with the Pathfinder, I threw all my gear in the trunk, and we were off and running.
 |
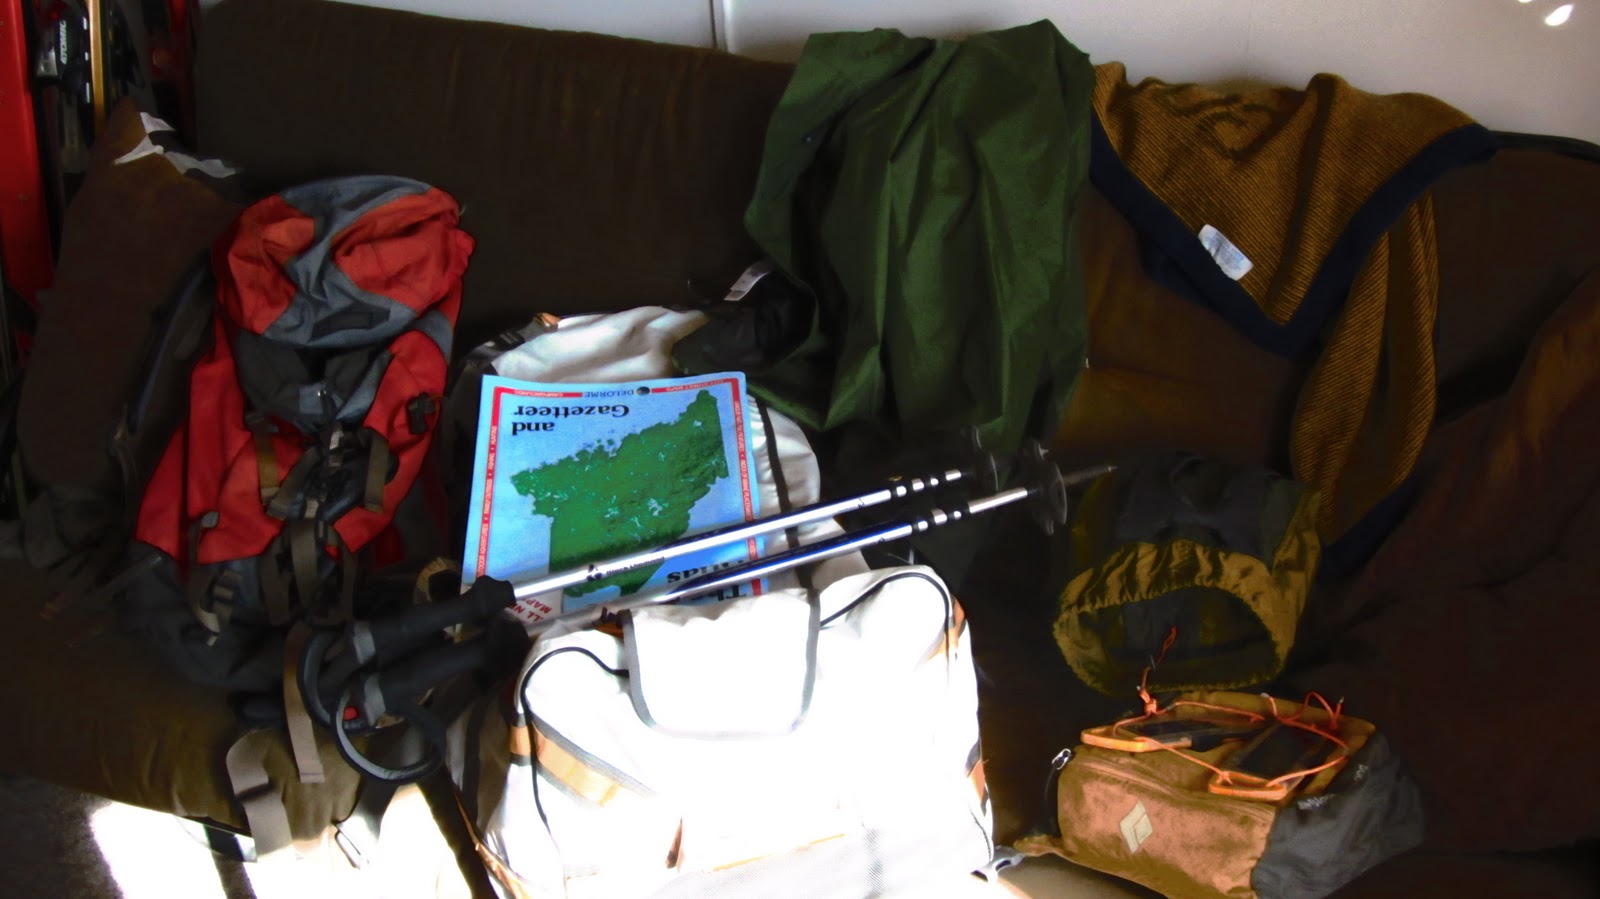
| I swear, we’re only going to be gone for a few days… |
We had two scheduled pit stops on the way to Maine: once at Ziehl’s family’s house to retrieve some extra dry bags and a carbon fiber paddle, and once at my family’s house to pick up the boats and life jackets. Stop number one went just fine, stop number two on the other hand marked the first official mishap of our adventure. We pulled the kayaks out of the basement, and got ready to throw them on the roof with the Thule J-bars when we realized that I had left half of the hardware in the back of my car in Boston. Instead of going all the way back to Boston, we went back to Ziehl’s house and took the hardware from his mounts. Even with this major blunder on my part we still managed to hit the road around 1 PM. With Ziehl doing the driving this time, I took charge of the co-piloting for the weekend. When Tripp and I did this trip last fall, we had a Hell of a time finding the campground in the dark with no cell service. With cell service we could easily have used the GPS in my phone to figure out exactly where we were, but without cell service the navigation software can’t download the map tiles for the given region. This time around, I made sure to pre-cache map tiles in advance. Just because I love redundant systems, I used Google Maps Labs to cache tiles in the Android Google Maps app, and I pre-cached the same region in Backcountry Navigator Pro. All of this may seem slightly excessive, but we felt a lot better about travelling on roads of dubious condition in the dark in unfamiliar territory with the ability to scheme up a Plan-B in a pinch. The next order of business, was getting the GoPro squared away for use with the Kayaks. This was pretty much the maiden voyage of the GoPro, so I wanted to make sure that I had all of the settings dialed in before we got out in the woods, where I’d likely be too busy or tired to take my time and do it right. This was actually a non-trivial activity. The GoPro is pretty incredible from an industrial design standpoint, but the UI leaves a bi to be desired. Given the circumstances (only two hardware buttons to work with), they actually do a pretty good job. Anyhow, I set it to take one hi-res photo every 60 seconds for the duration of the trip. It seemed to me that video of 7 hours of paddling might be a bit tedious, but tons of still photos might yield a few cool shots. After a few stops for gas and sandwhiches we rolled onto the access road to the Round Barn Campground where we would drop our kayaks. By now it was about 7 PM and not yet totally dark. We found the waterfront day use area of the camp ground and prepared to unload the kayaks in the fading light. Right then, we ran into a crazy old Irish guy watching the sunset from his VW Eurovan. We end up telling him our plans for the weekend and were excited hear that he had just run into two other people doing the same loop as us, but in the opposite direction. Until then, we were worried that we might be planning an overly ambitious trip. The next thing he said was cause for concern; we told him how we intended to get from Round Barn to Trout Brook and he informed us that last time he was down that road a bridge was missing and that the only option was to ford the stream with steep embankments on either side. We decided to take a shot at it anyway – if it was really in bad shape we’d have to find another way around. The series of setbacks ensued, summarized best in this map:
View Flagstaff Adventure in a larger map
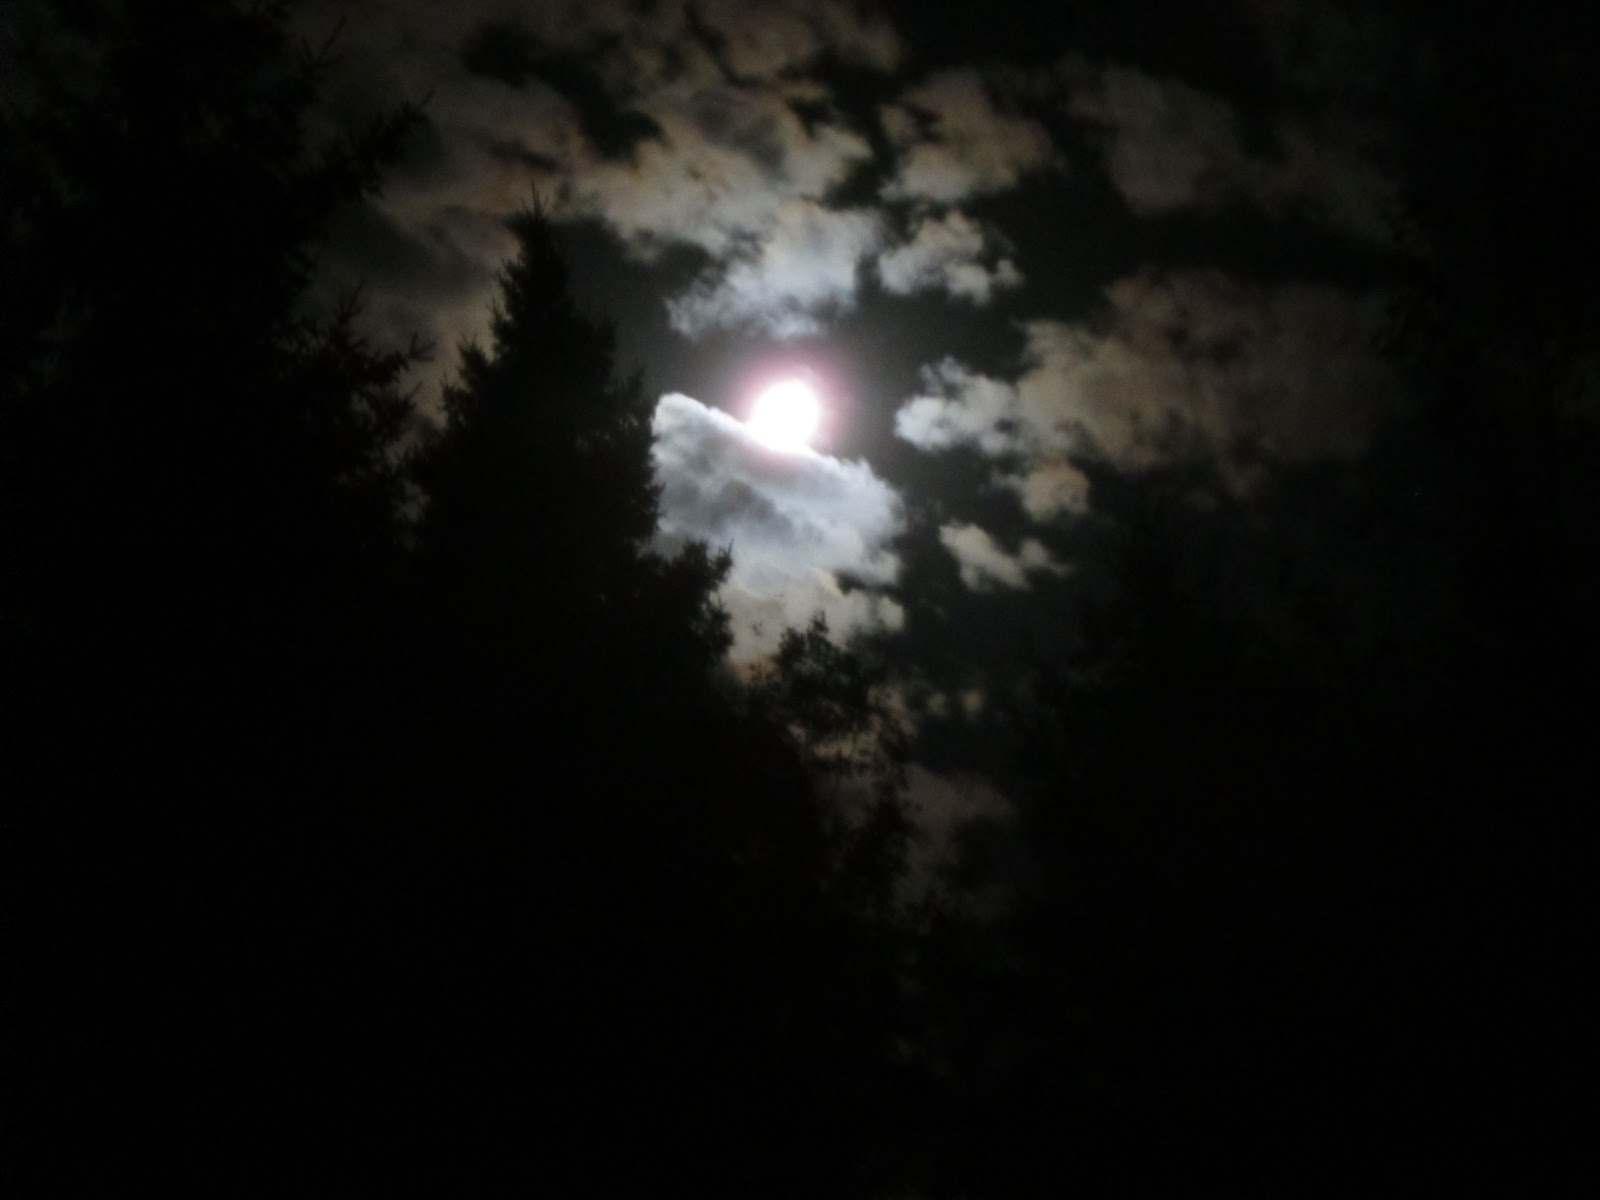
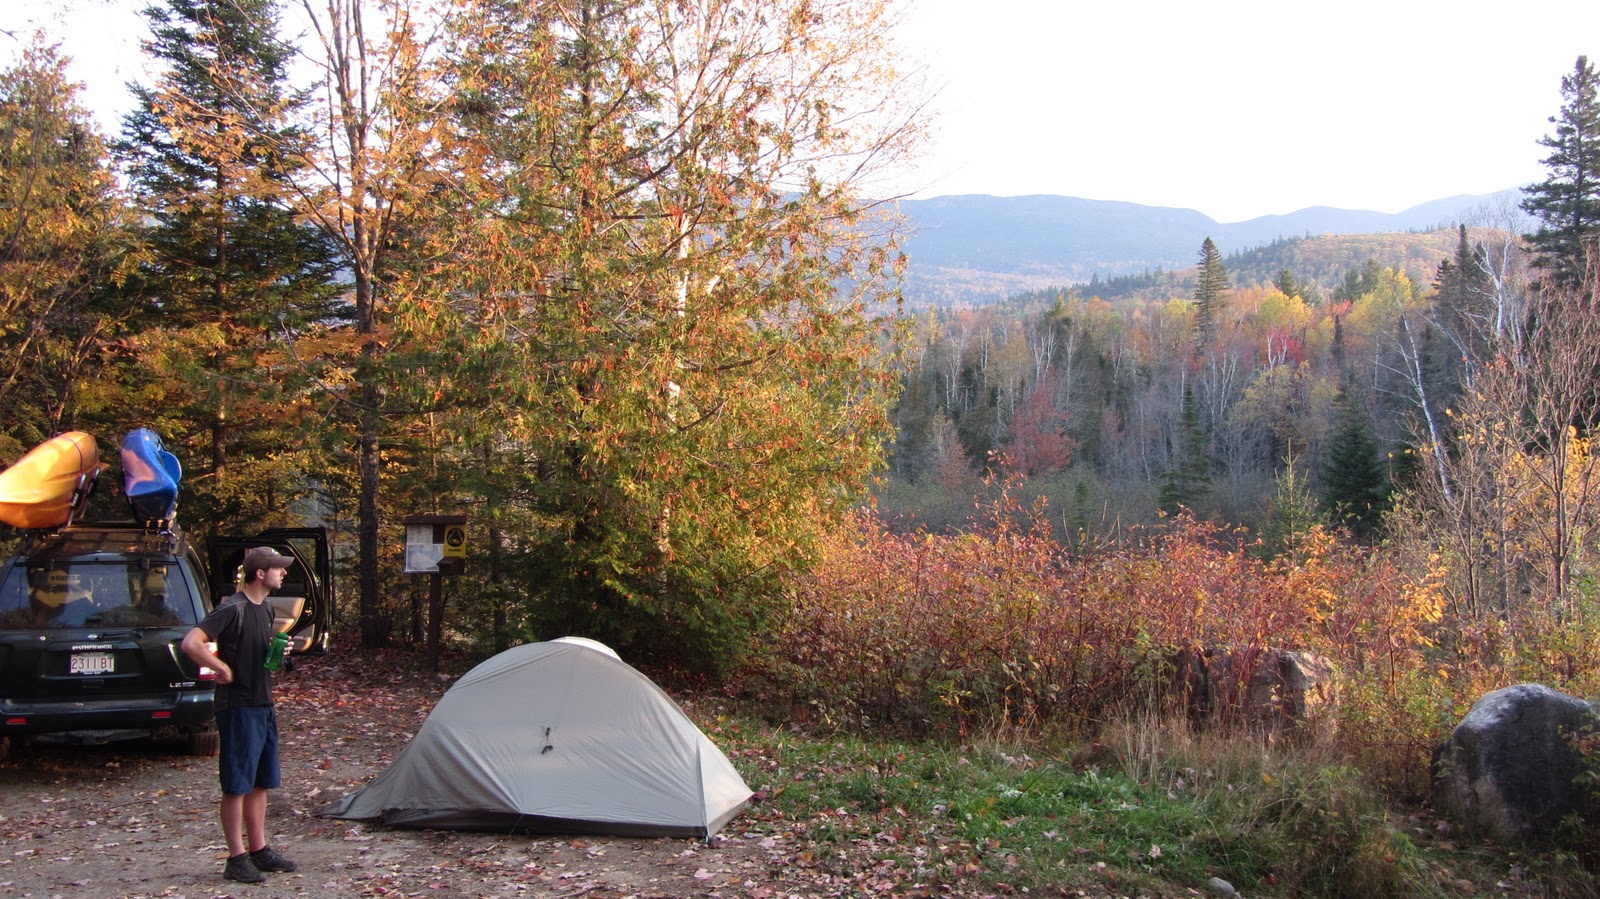
Here’s what happened. We headed west from Round Barn down East Flagstaff Road, which according to the map connects with West Flagstaff Road and eventually goes straight past Trout Brook Campsite, where we intended to camp. This was supposed to be about 15 miles long and we expected it to take an hour or so. East Flagstaff Road was in pretty rough shape, but Ziehl’s Pathfinder was up to the challenge. After about an hour of plodding through the woods in 4-wheel drive we came to a huge red steel gate. We’d only come about 3 miles. After swearing a whole bunch we looked at the map and realized that we must have taken a wrong turn about a mile back. We turned around, found the turn we missed and instantly recognized why we’d missed it in the first place. The road was totally grown in with 10 year trees. We ended up backtracking the the entire three miles and finding a road to the south of the range called Carriage Road. Carriage Road was another route of dubious quality. We passed it on the way to Round Barn and it was just a dirt path through the woods. We had no idea if we might encounter similar troubles. The only other alternatives would have taken us significantly out of our way. The Carriage Road turned out to be smooth sailing and we quickly popped out of the woods at Rte. 27/16, which apparently had been destroyed in several places by Hurricane Irene. In many places it was still down to one lane. We arrive in Stratton around 9 or 10 PM in search of Trout Brook Campground which should have been a convenient spot to spend the night. All we could find was a large, swampy, clearing full of dead trees and brush. Maybe more evidence of Irene? In any event, we decided to just drive to the trailhead and camp there. According to the map, the trailhead was at the end of Reservoir Road in Stratton. We found Reservoir Rd. easily and quickly found that it was gated off by a sparkling new, chain link fence. Starting to run out of patience, we jumped out of the car, GPS in hand and followed a snowmobile path around the back of the fenced off property to the trailhead. From the trailhead parking area, we were able to backtrack out to the road and back to the car via some dirt road, not on any of the maps we’d looked at. It was at least 11 PM and we were anxious to try out the Gritty’s Halloween Ale we’d picked up, so we grabbed our headlamps and threw together a hasty campsite in the parking lot. Turns out the view from the parking lot wasn’t too shabby…
 |
| Nearly a full moon. |
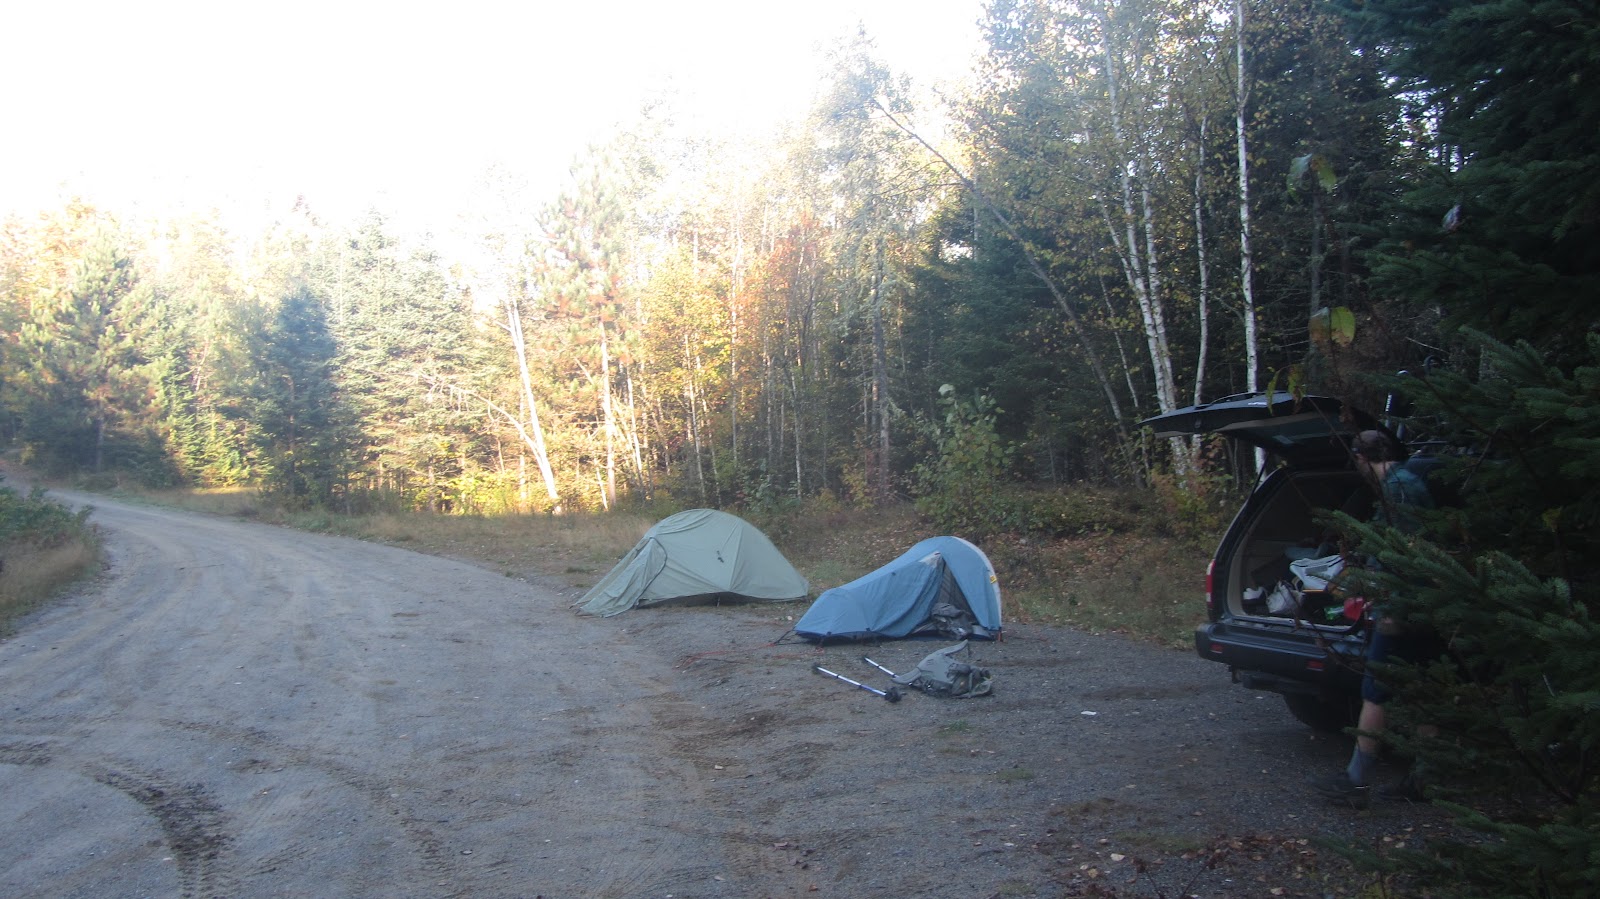
Saturday We rolled out of bed at 9 the next day, had some oatmeal, loaded our packs and were on the trail by 10. The day called for roughly 15 miles of hiking over 4 peaks.
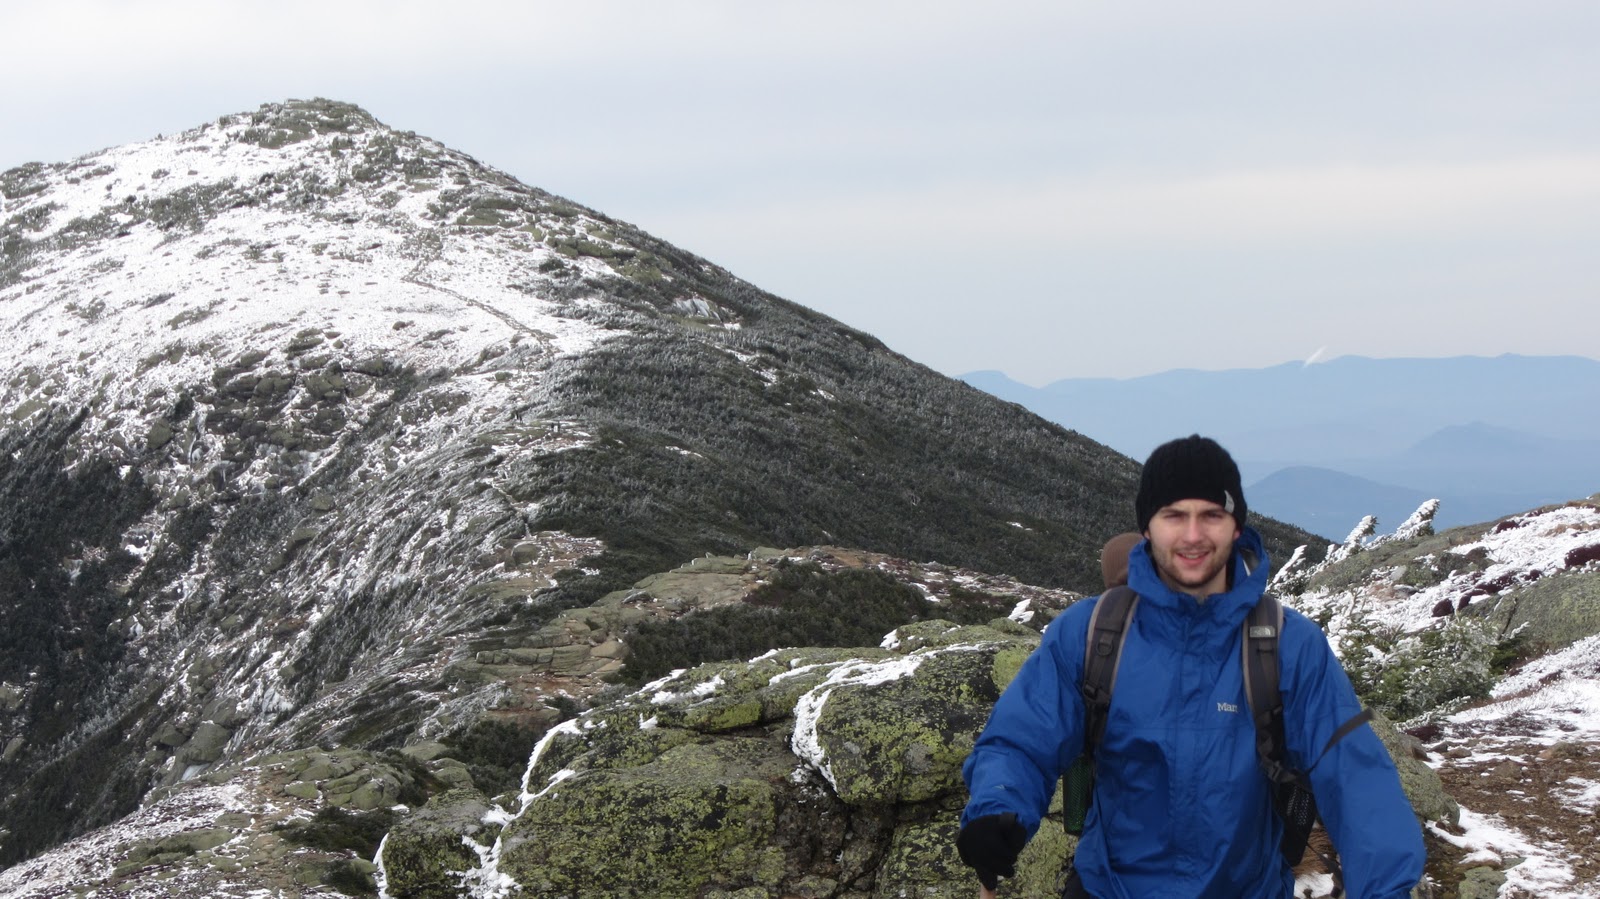
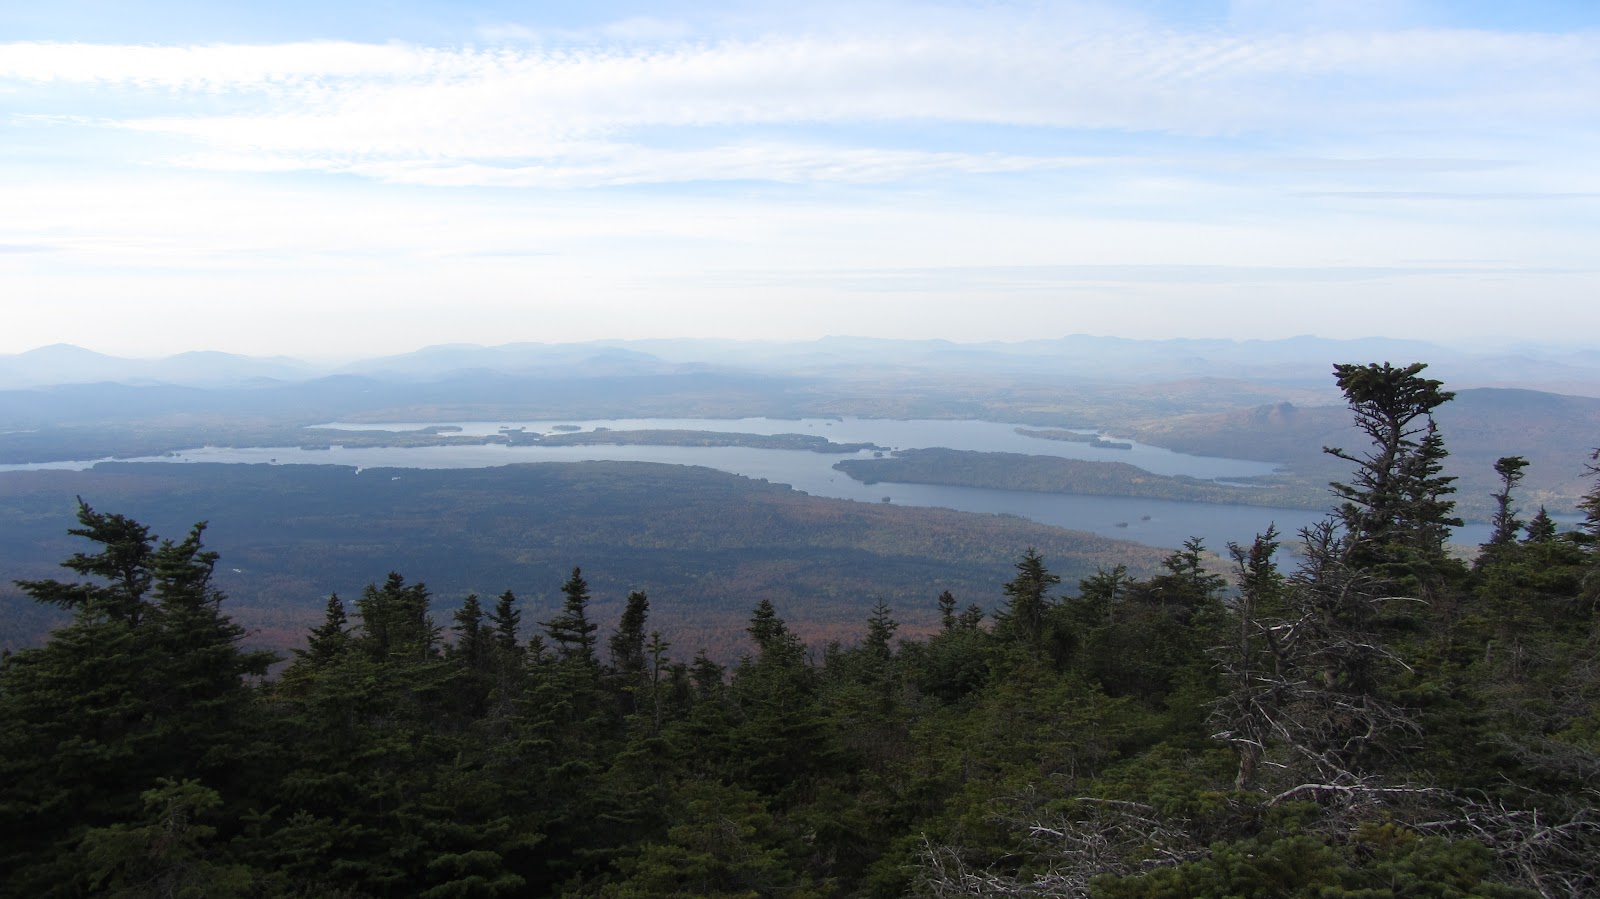
View Flagstaff Adventure in a larger map There would be a lot of elevation change and we had overnight gear, extra layers, food, water treatment equipment, the cameras and other gadgets, and shell pants and jackets. We had no idea what the weather would be like this time of year. As it turns out the weather was basically perfect: 60-70 degrees, mostly sunny, light breeze. We could have skipped the extra layers and shell pants, and probably should have, because there were a lot of steep climbs. The hike turned out to be long and fairly difficult, but well worth it.
 |
| From this panorama you can actually see most of the hike and the paddle! |
 |
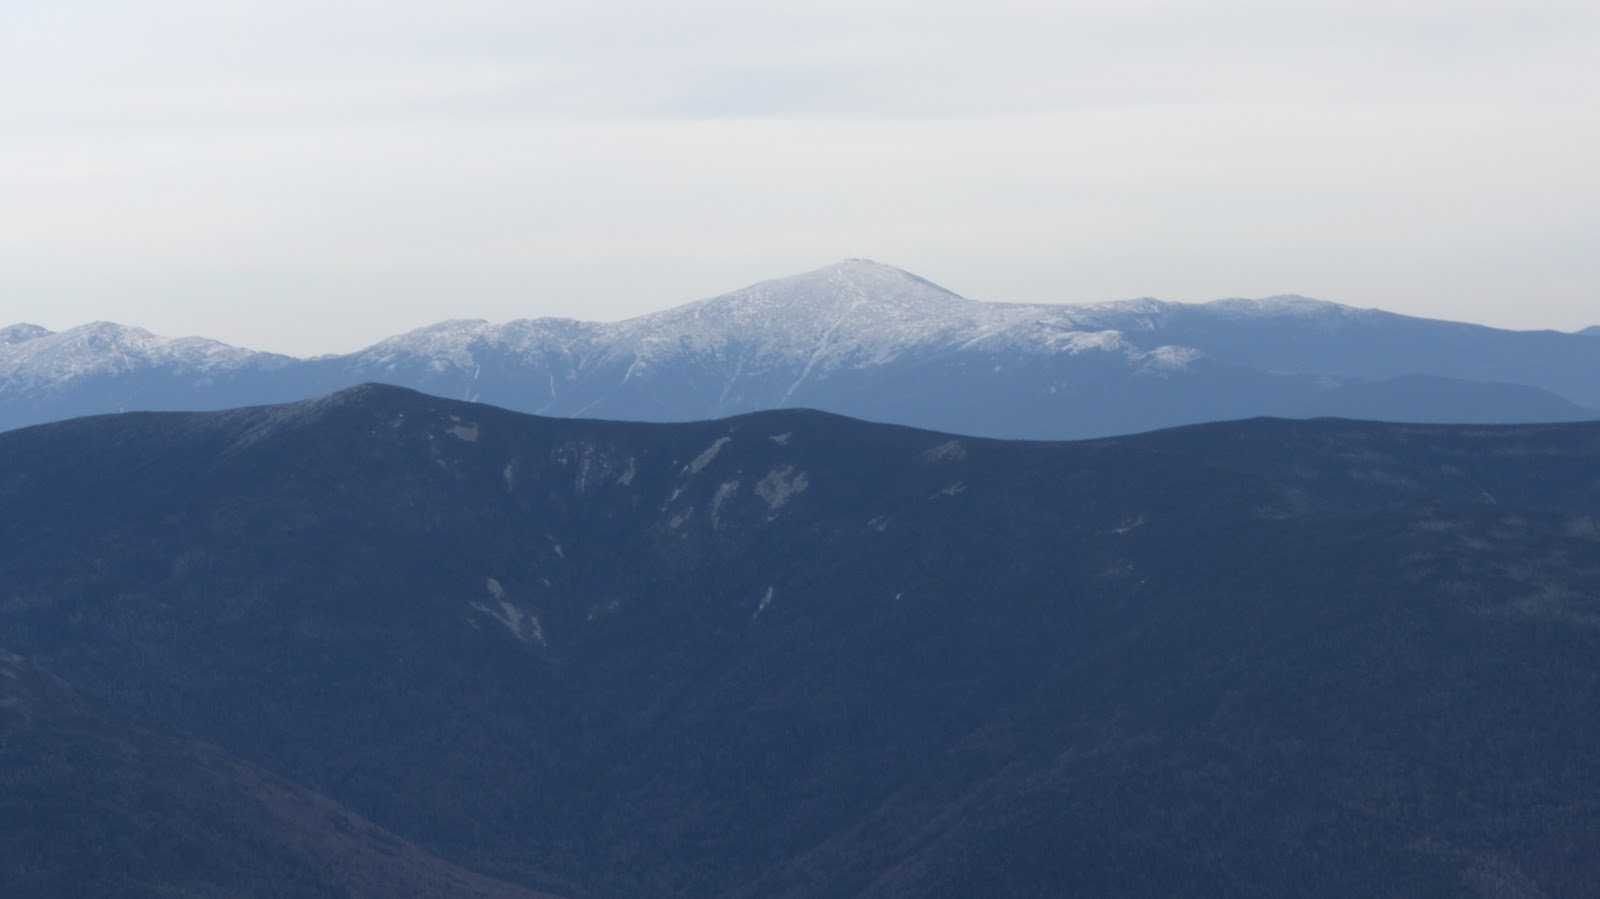
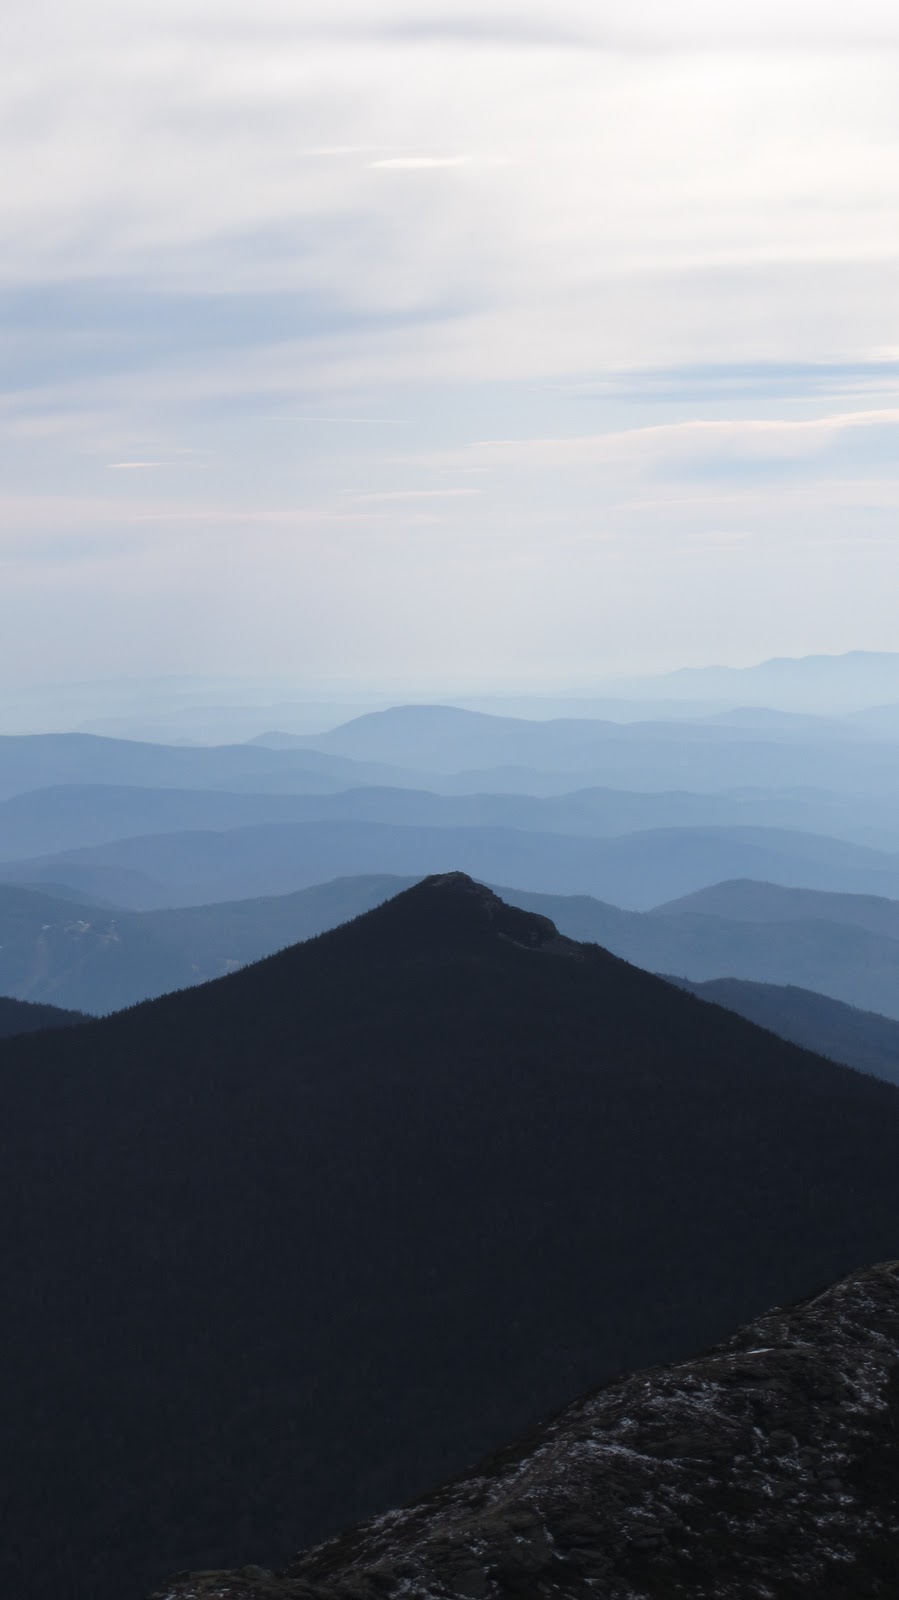
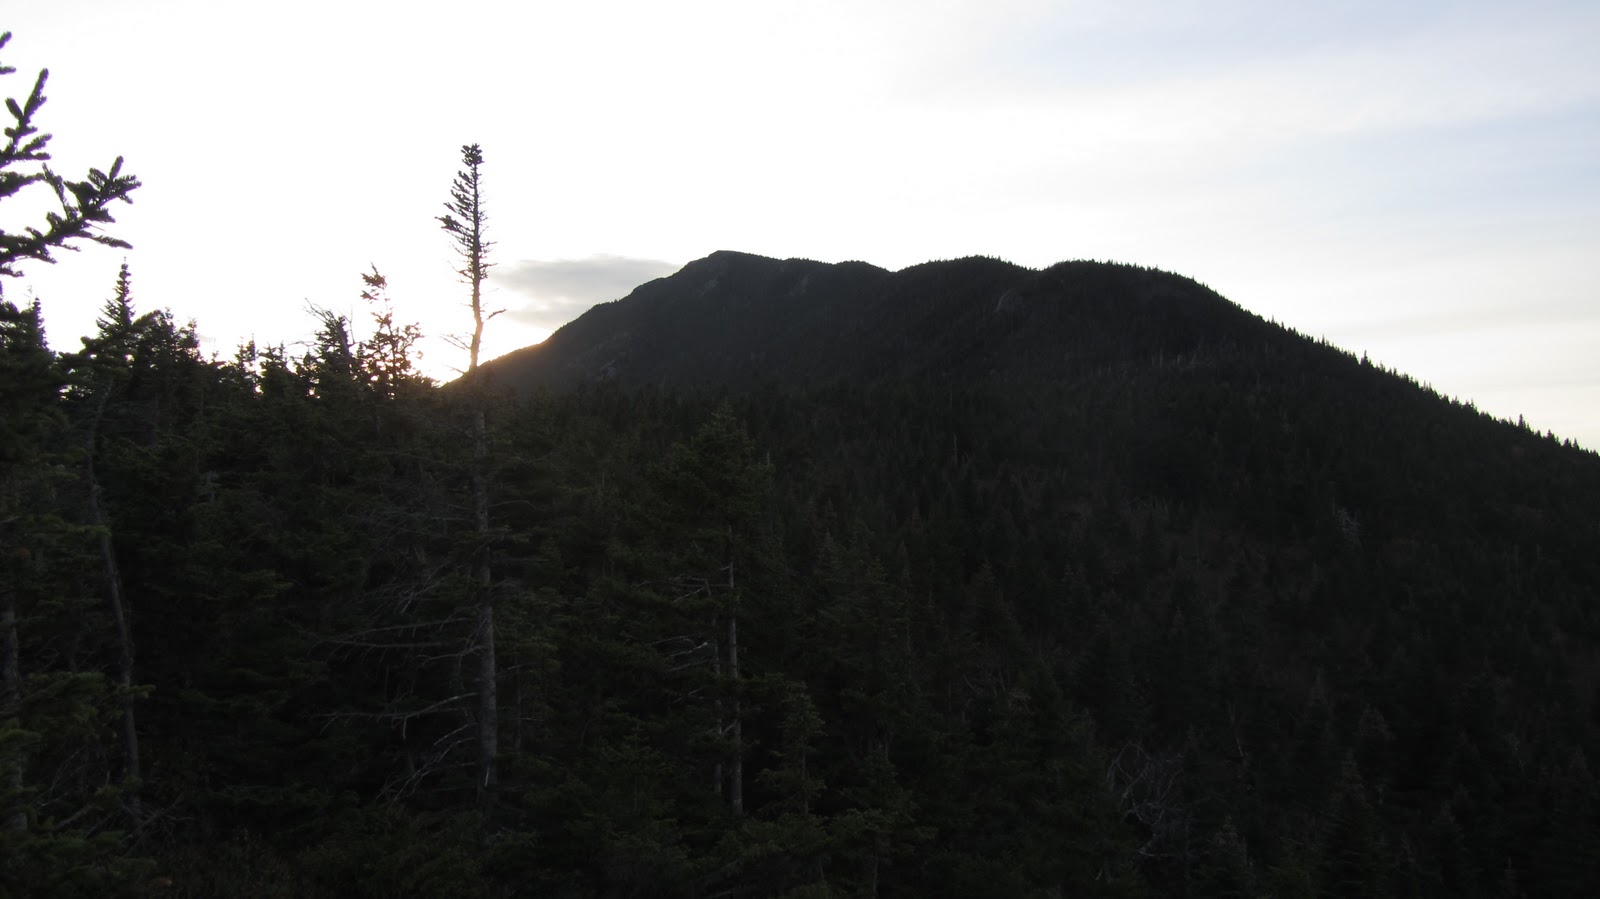
| Looking north west – the ridge we just came over is to the left. |
 |
| You can see how steep the ridge is – it falls away sharply to both sides. |
 |
| We refilled our water at this MATC camp site. |
 |
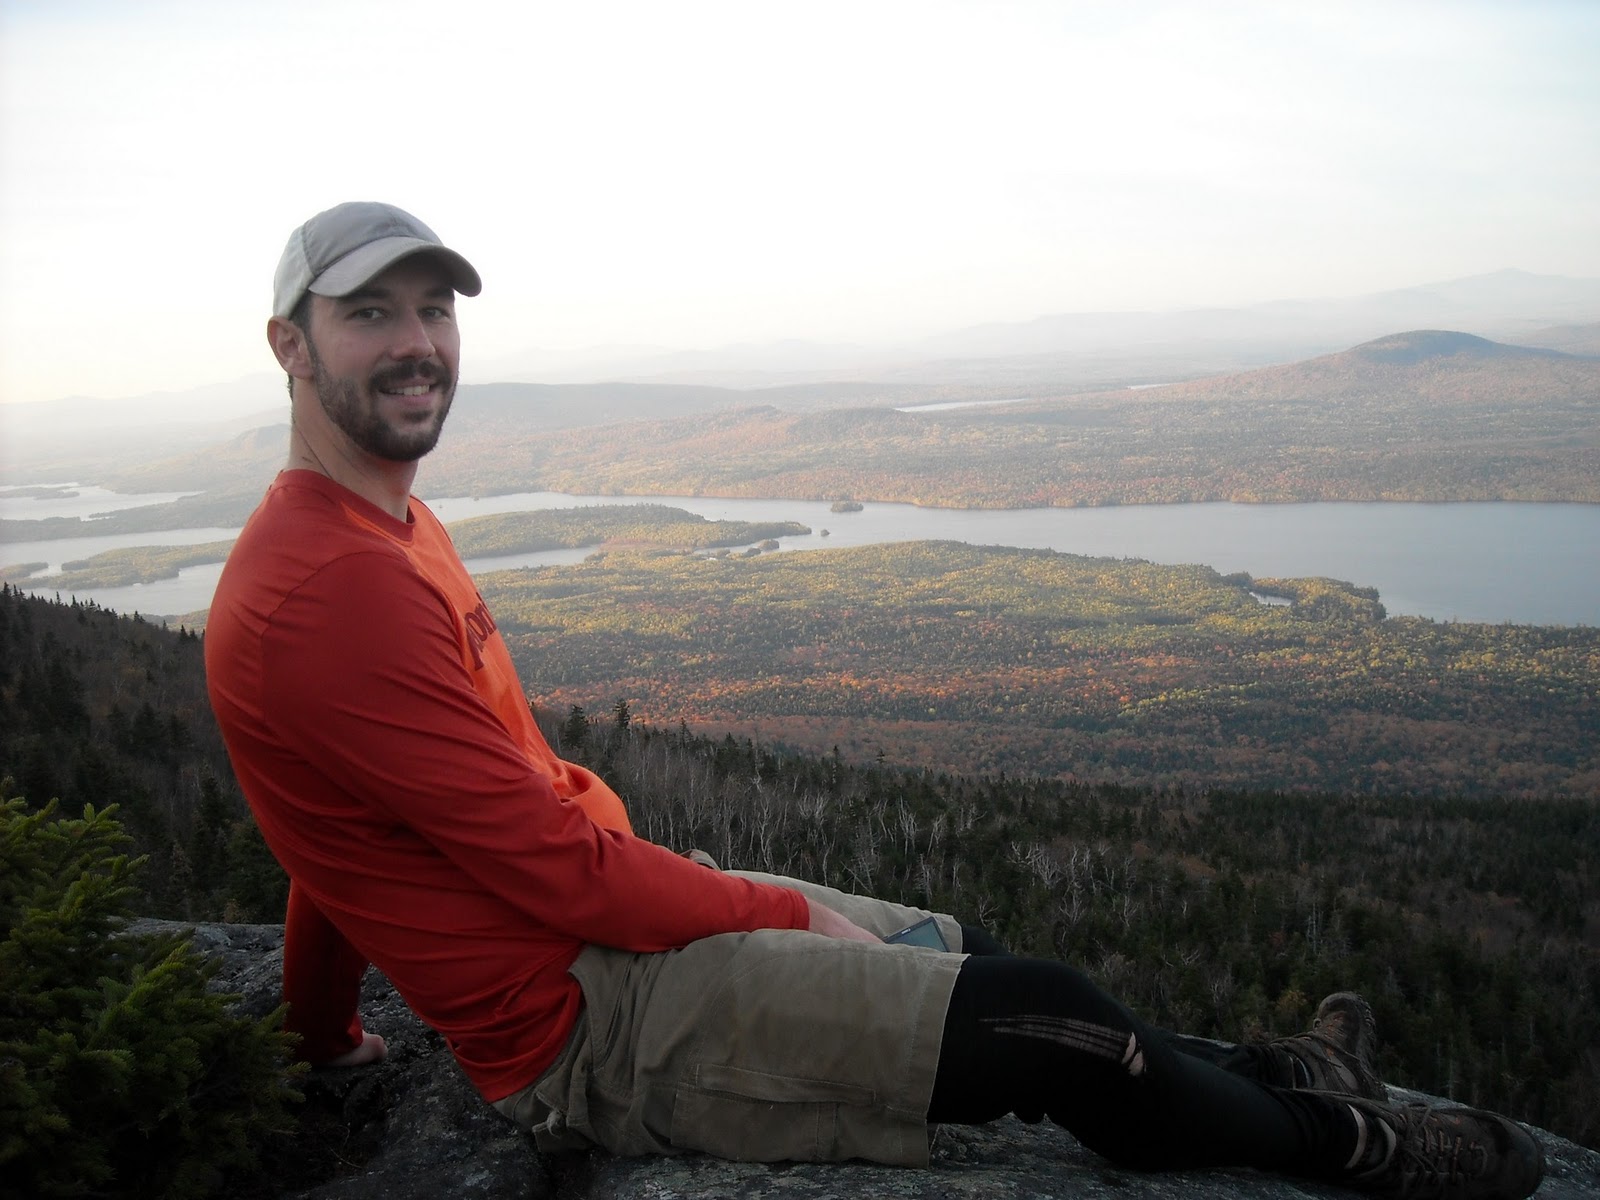
| Scoping out Sunday’s activities… |
 |
| One of the last big climbs of the day. |
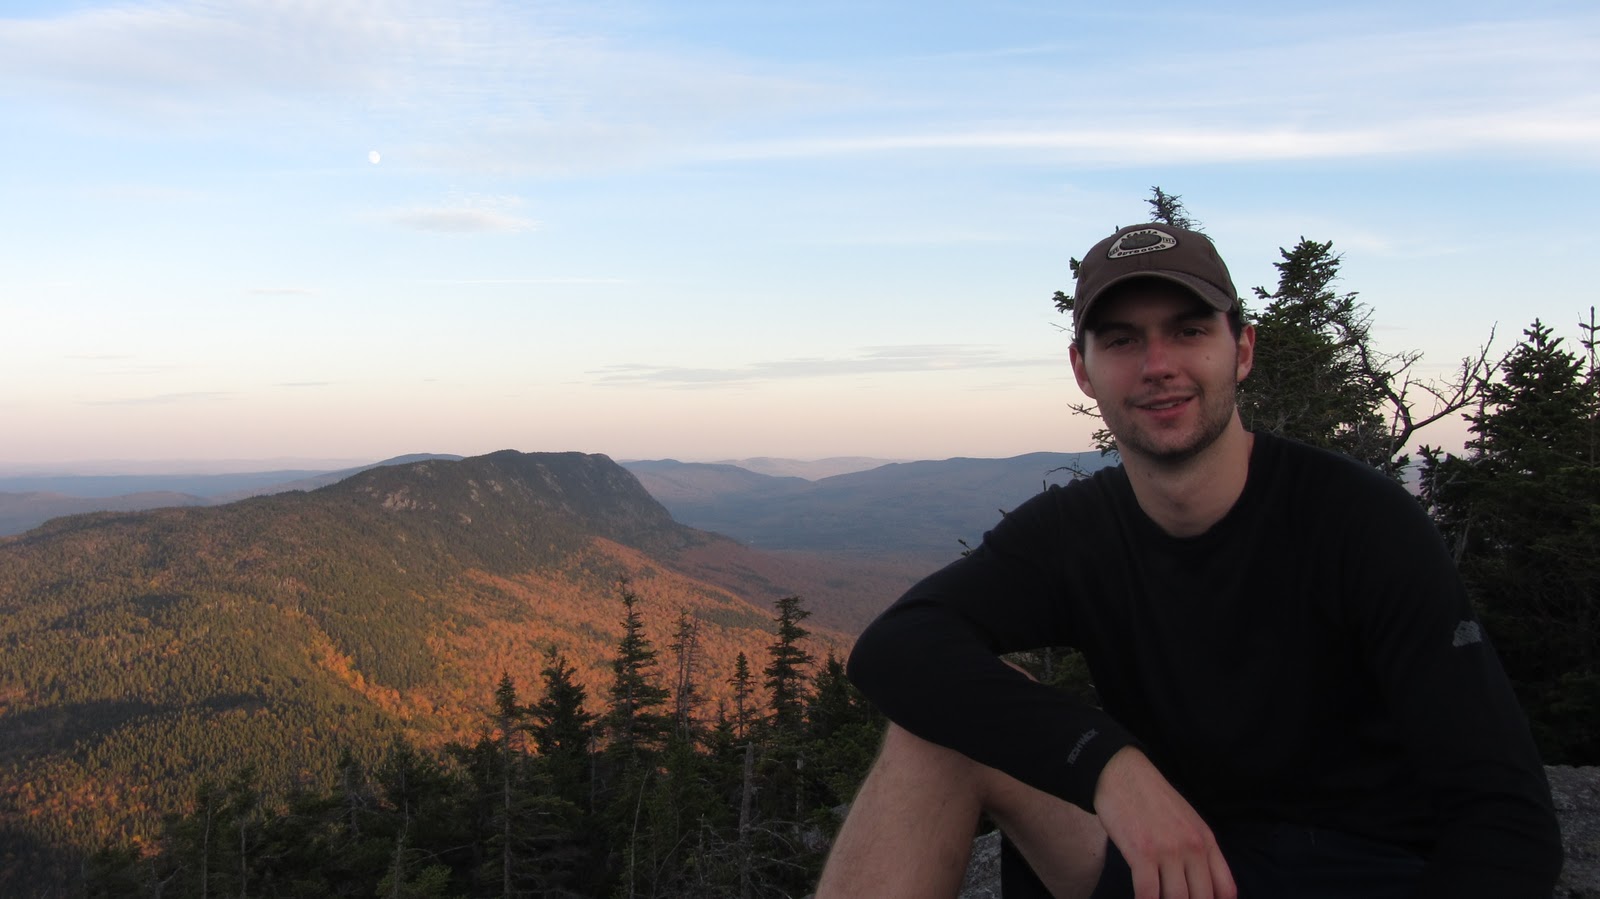
 |
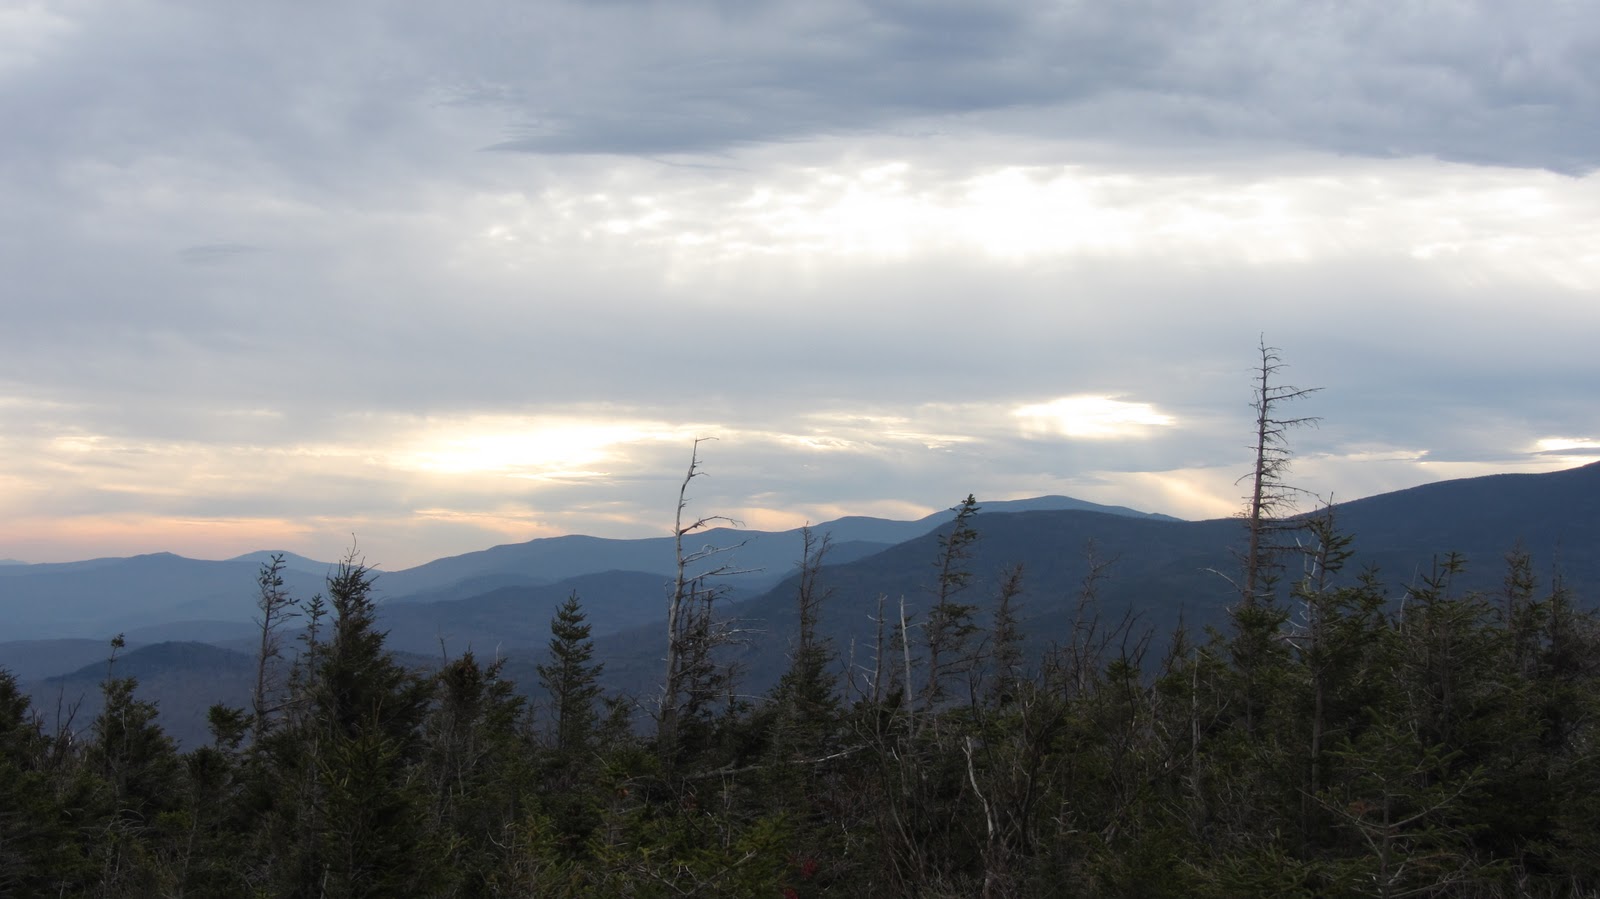
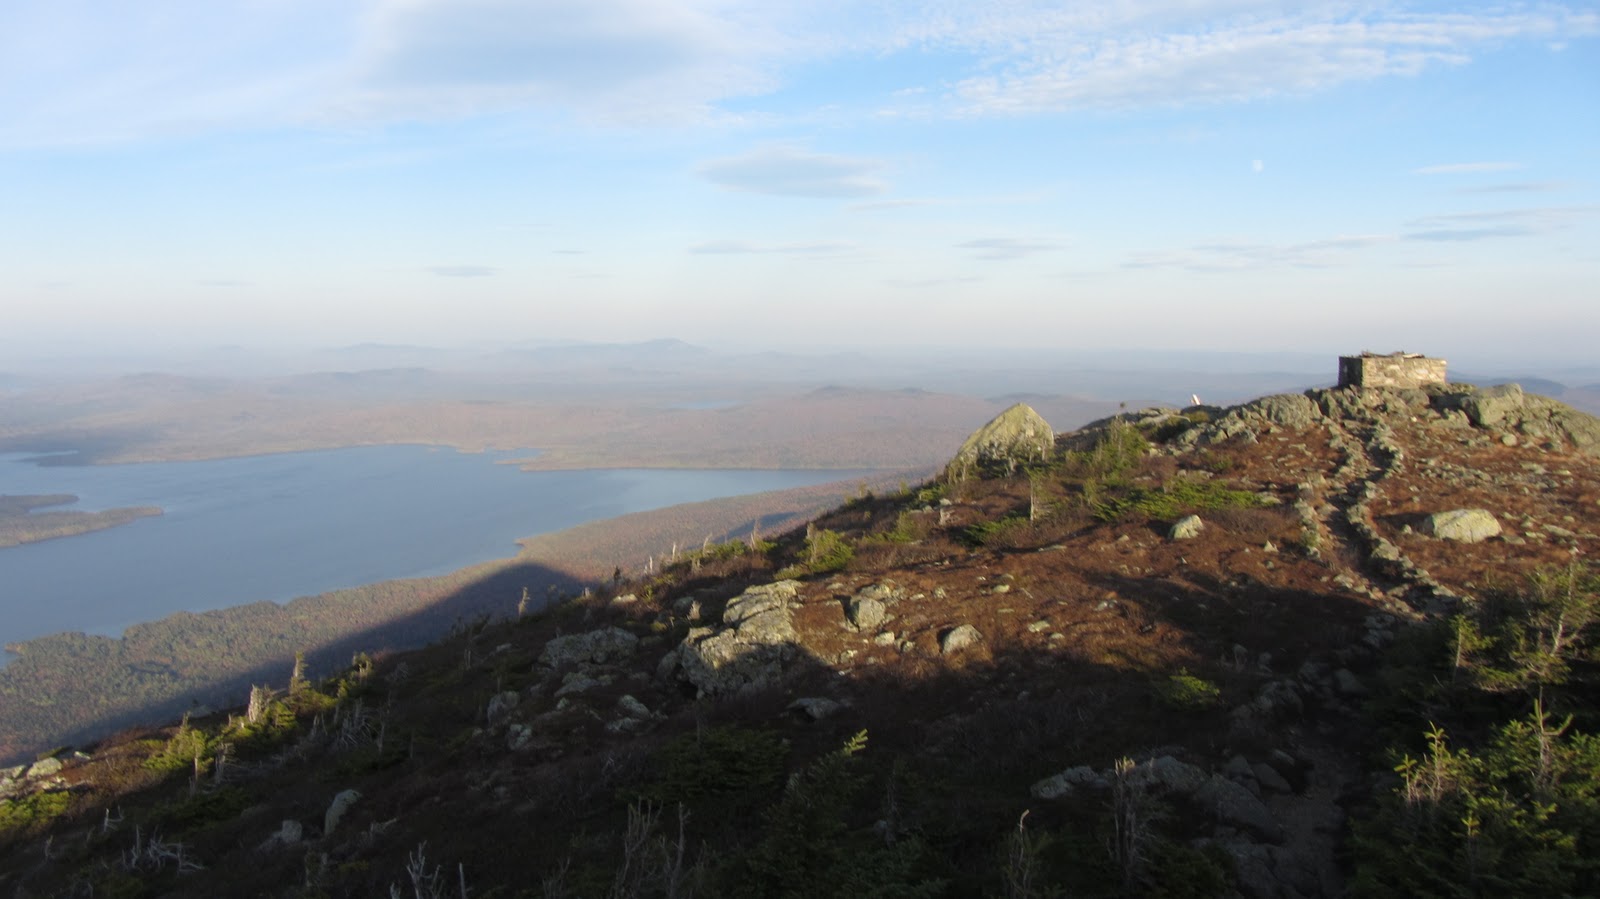
| The view immediately after the final summit of the day. The moon was out and the sun was just about to dip below the mountains behind us. It would be totally dark in about an hour! |
 |
| Photo Credit: Ziehl |
We reached the final summit about an hour before sunset. We still had about 3 miles of steep downhill before we were back at Round Barn, and we ended up completing the last hour or so of it by headlamp. It was nearly a full moon but the foliage prevented much useful light from reaching the forest floor. When we got back to Round Barn, we spent about an hour locating the kayaks in the dark and finding an unoccupied camp site. We wasted no time in consuming the first PBR (strategically stowed in the Kayaks on Friday night). With that out of the way, we put up our tents, started a fire and sat around eating for about 2.5 hours before going to bed. Sunday Day two turned out to be another exceptional day. We pulled our food down, threw together a quick breakfast and started taking down the camp.
 |
| Whitecaps on the lake! |
 |
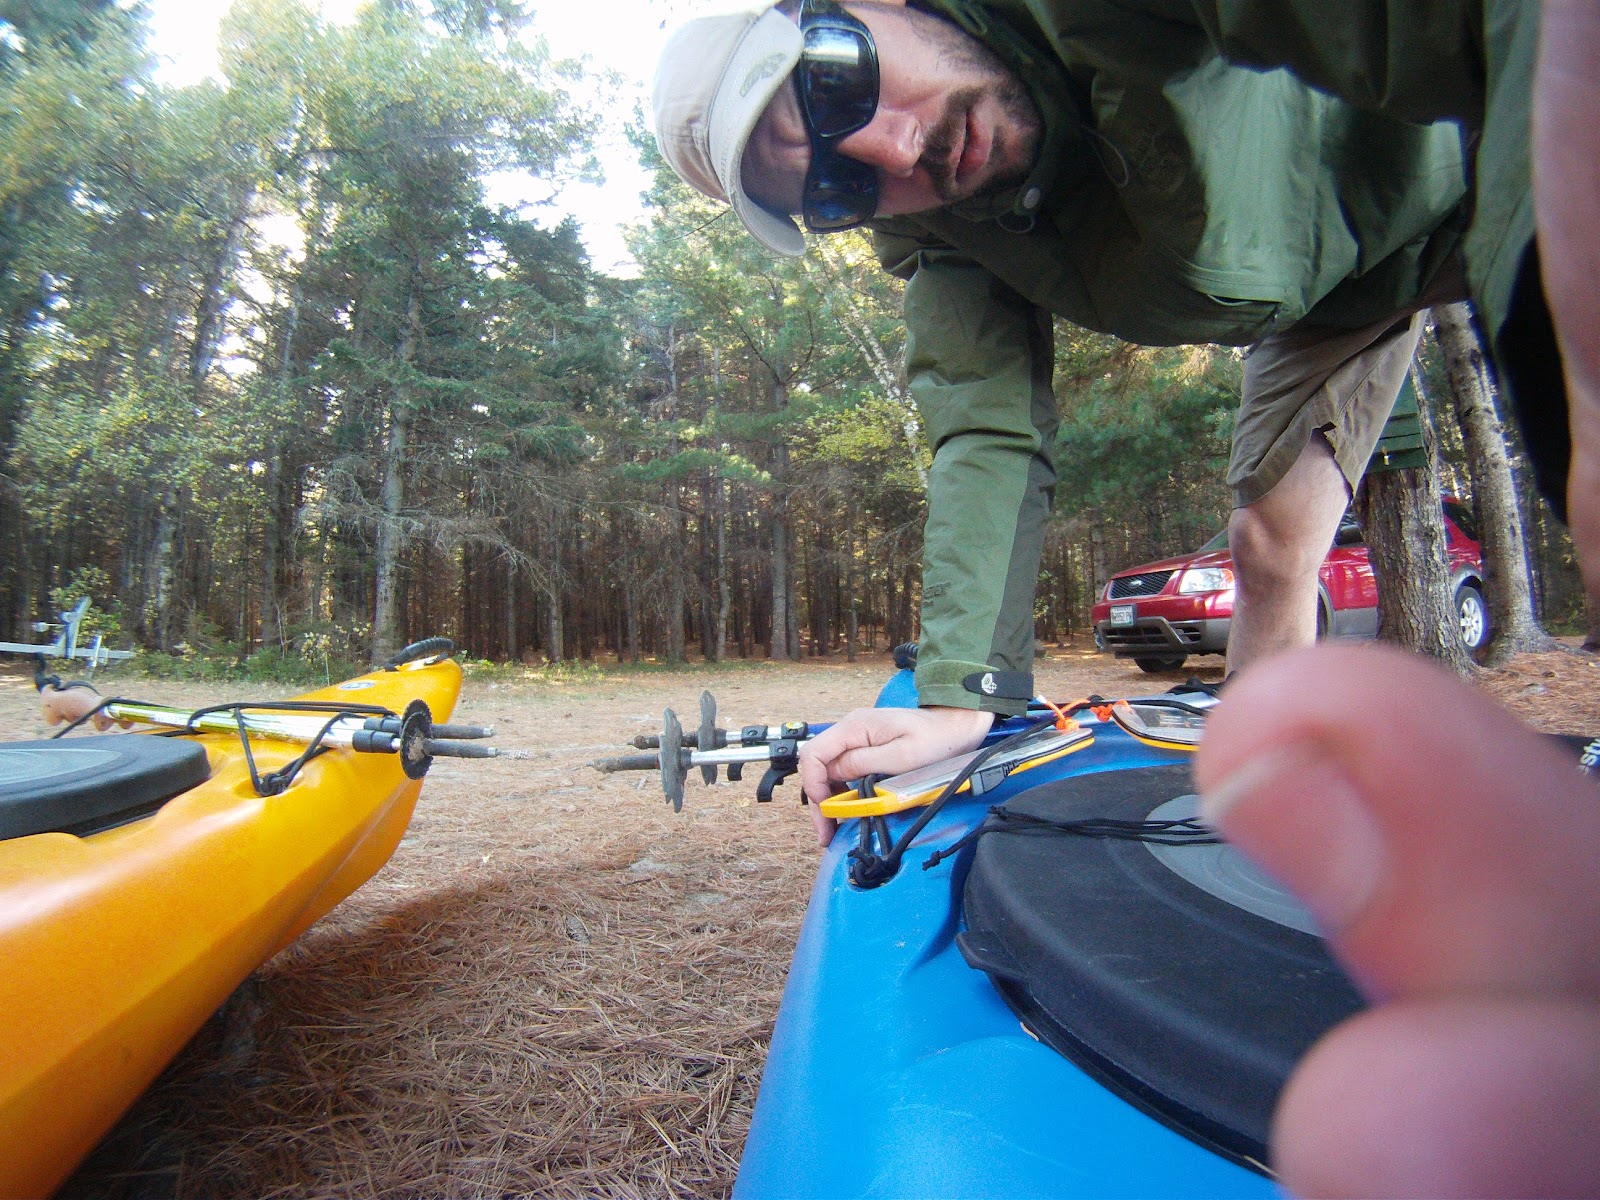
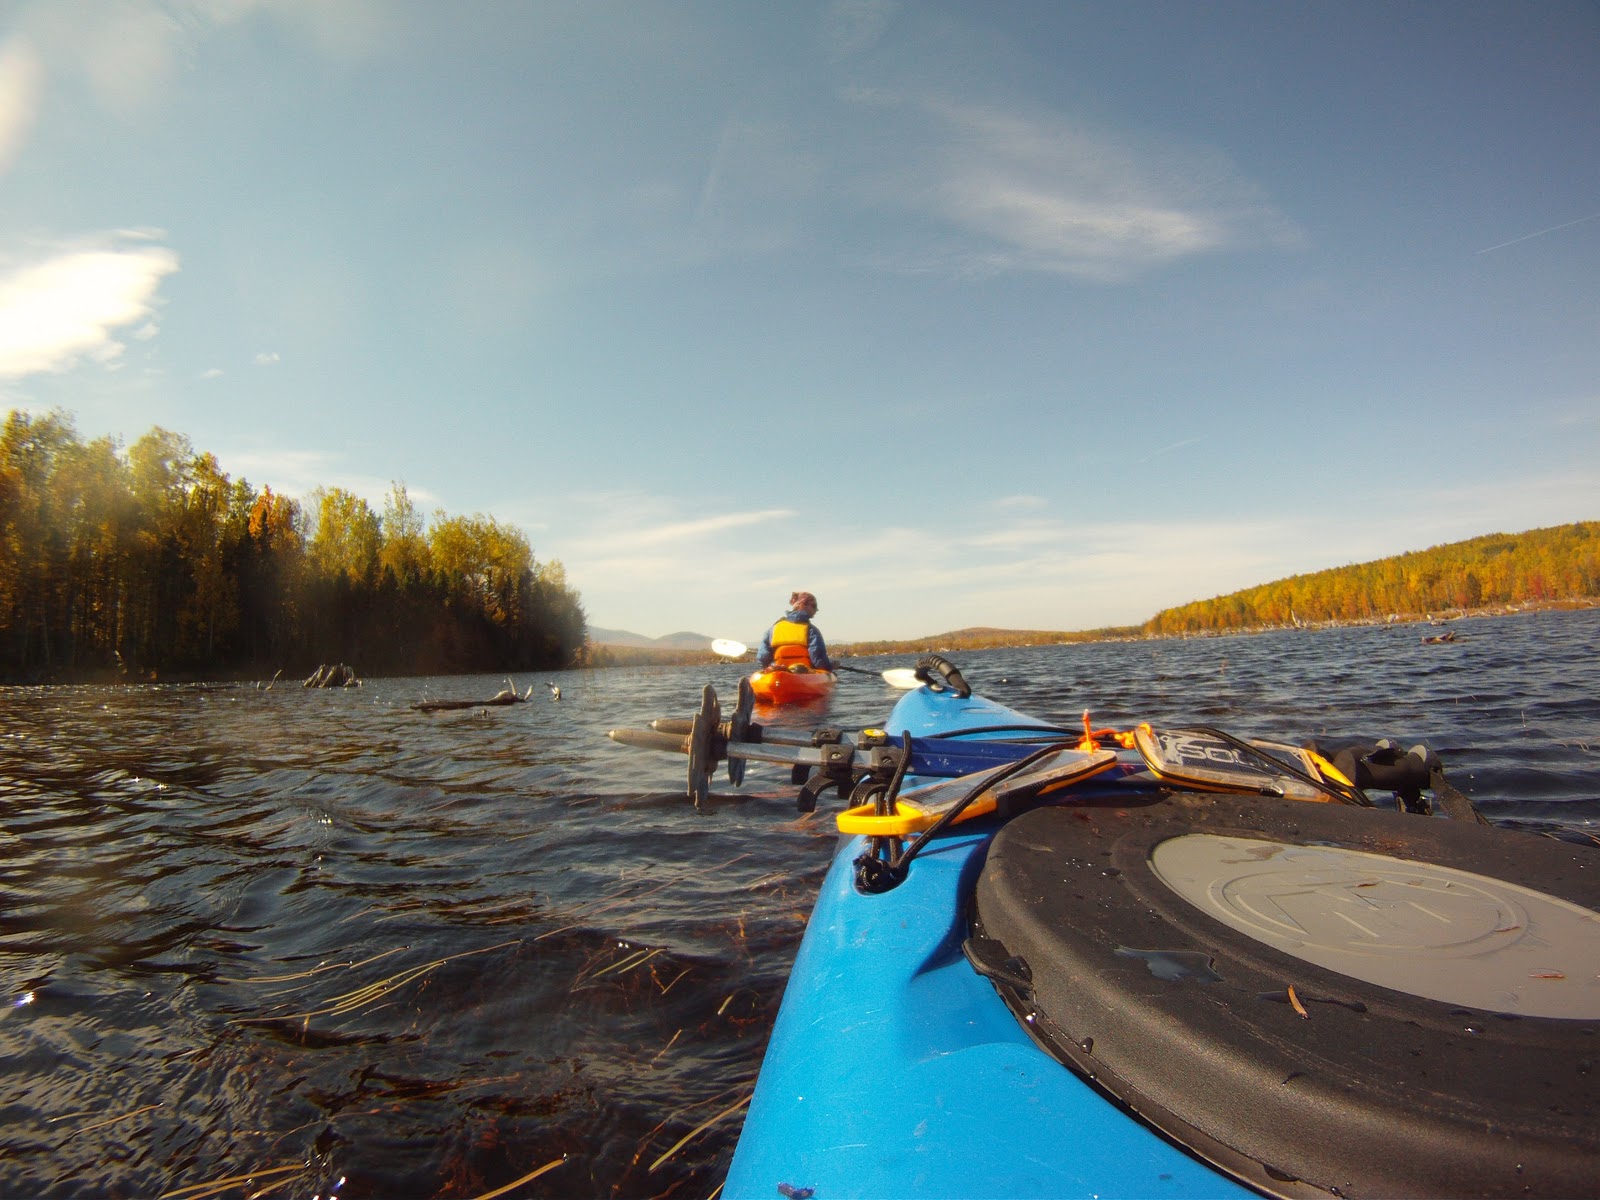
| Rigging the kayaks. The GoPro is right behind my hand. We stowed the trekking poles with the deck rigging. Most of the overnight gear was stowed in the main hatch. We were able to keep extra layers in the rear external stowage using bungee cords. My two solar chargers are clipped to the bow deck rigging along with the trekking poles. |
 |
| Under way! |
 |
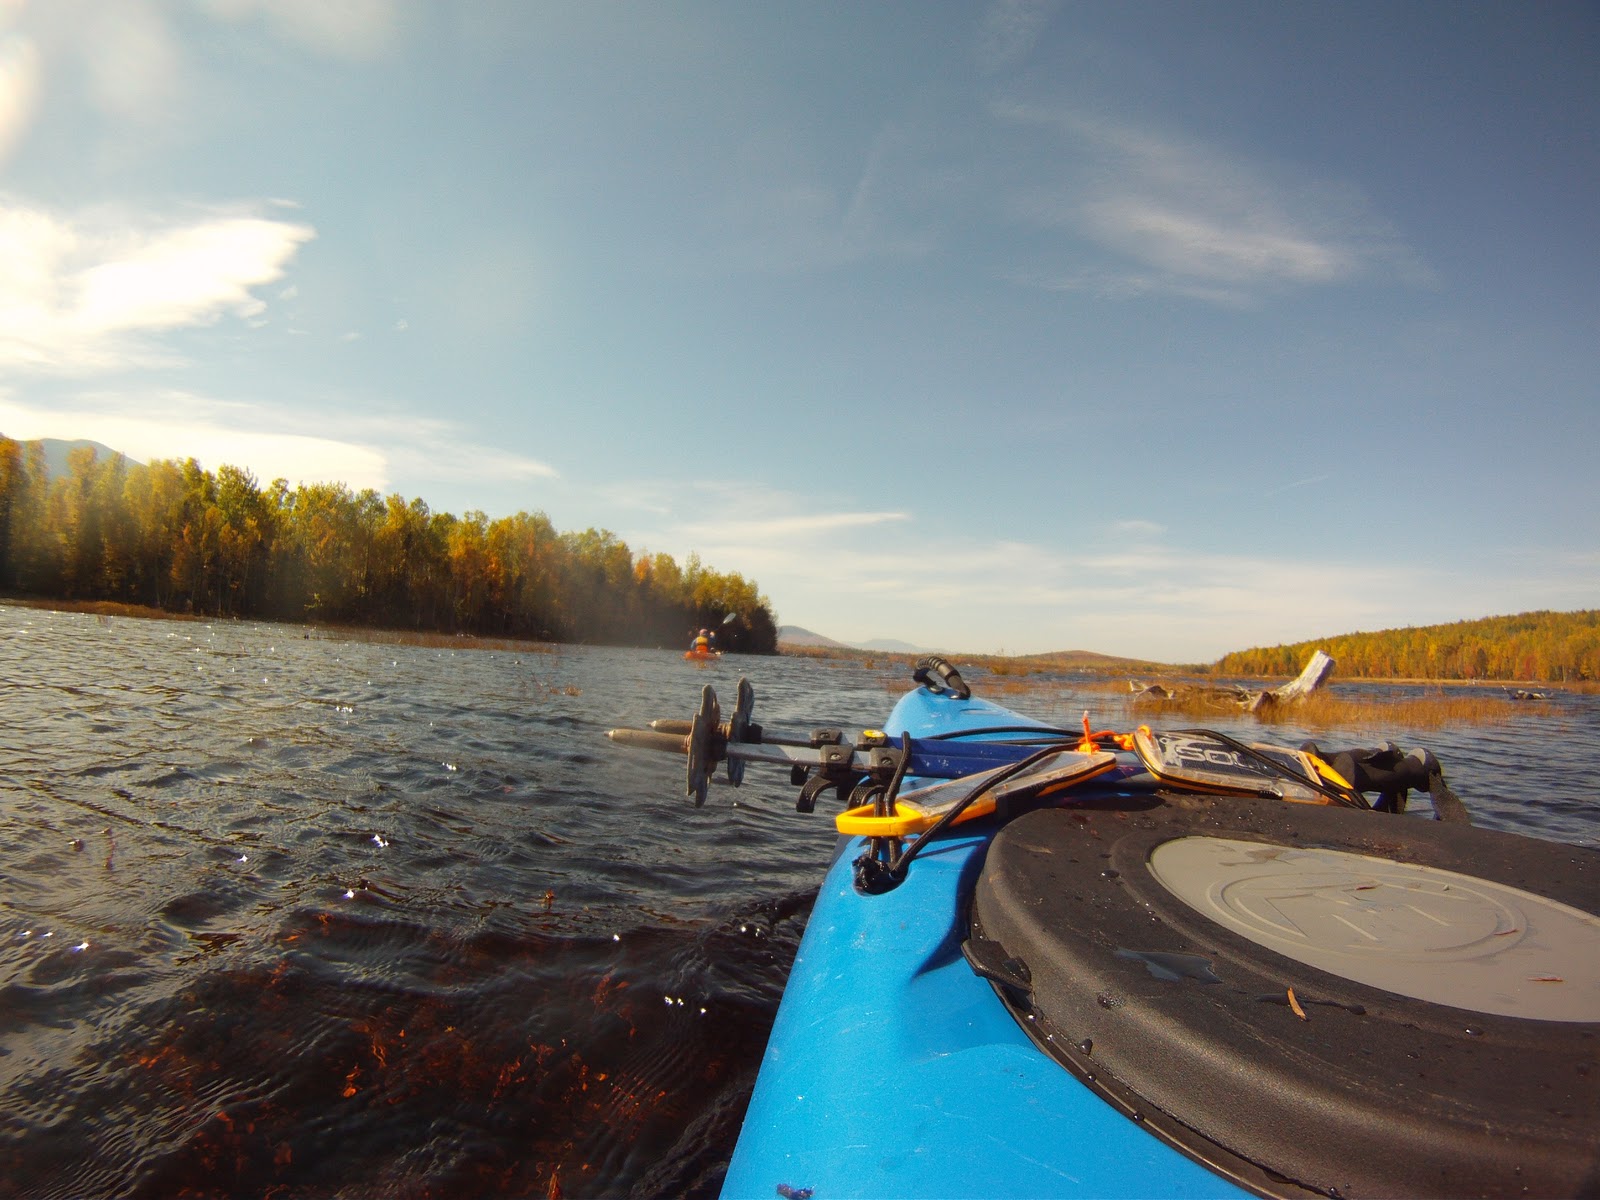
| The wind was gusty and the water, choppy at 10 AM, when we departed. |
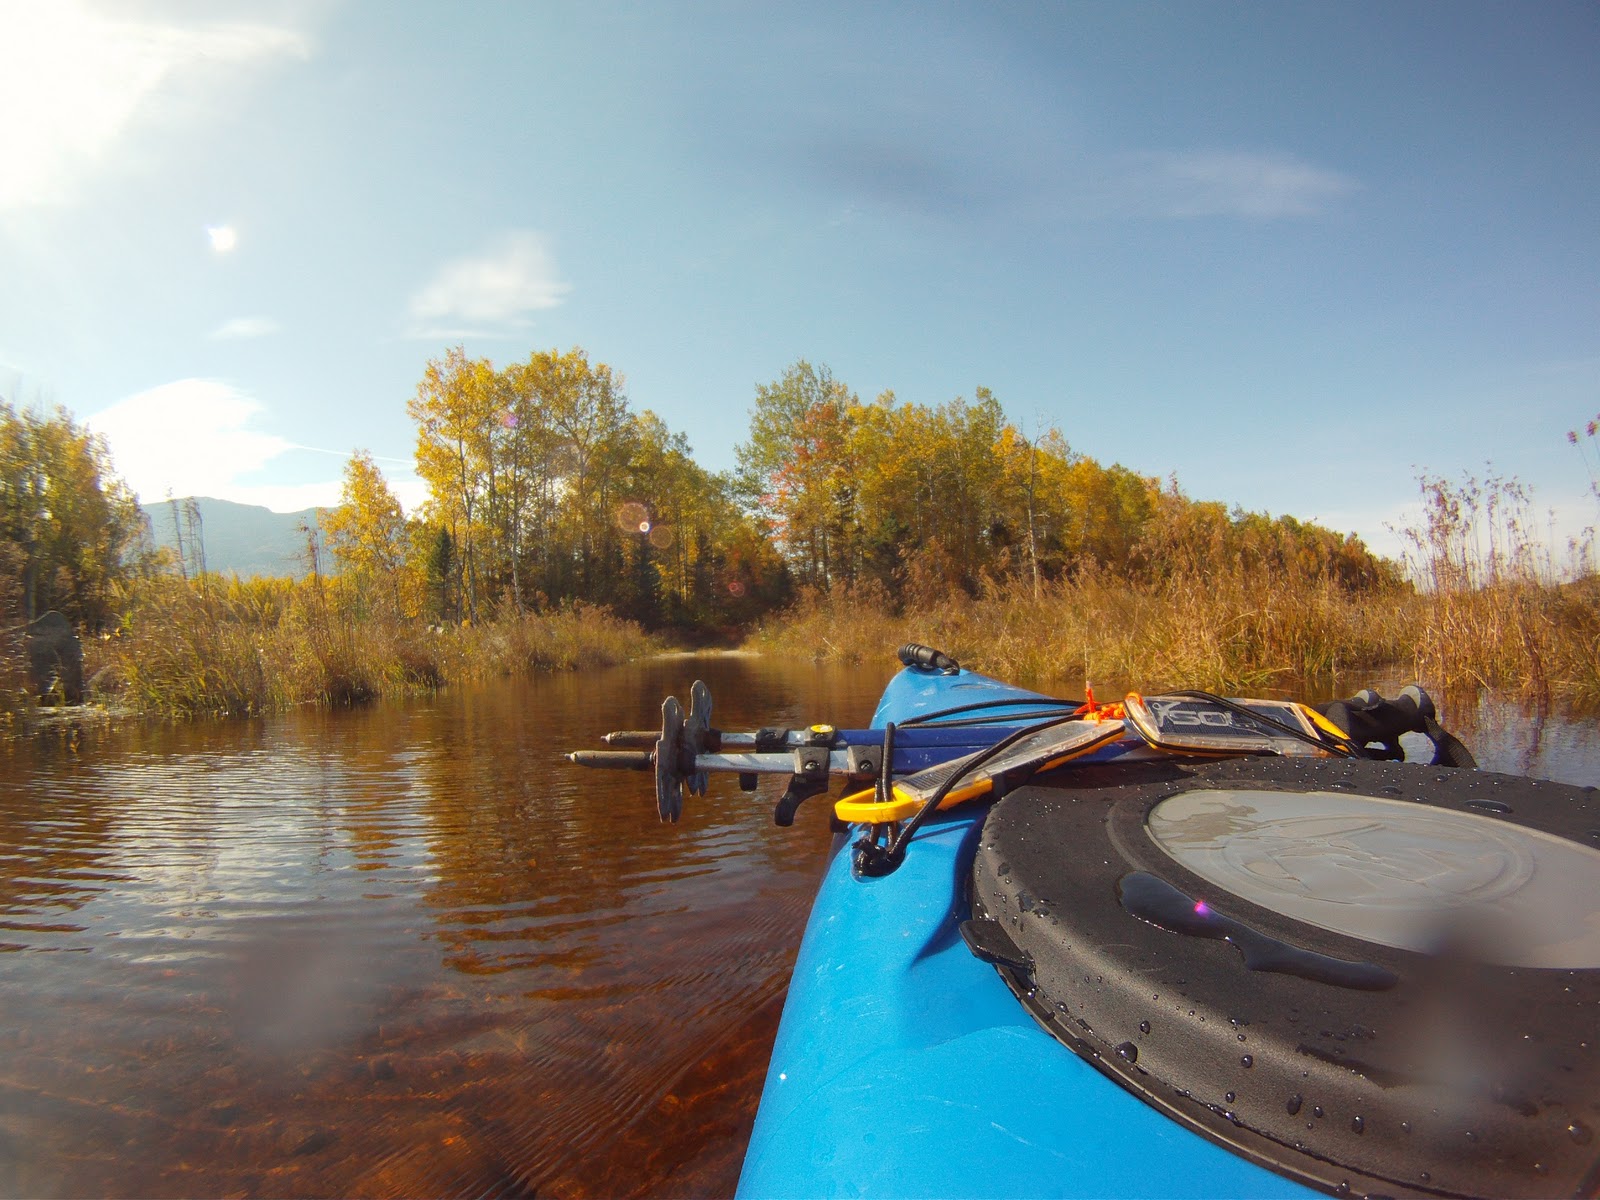
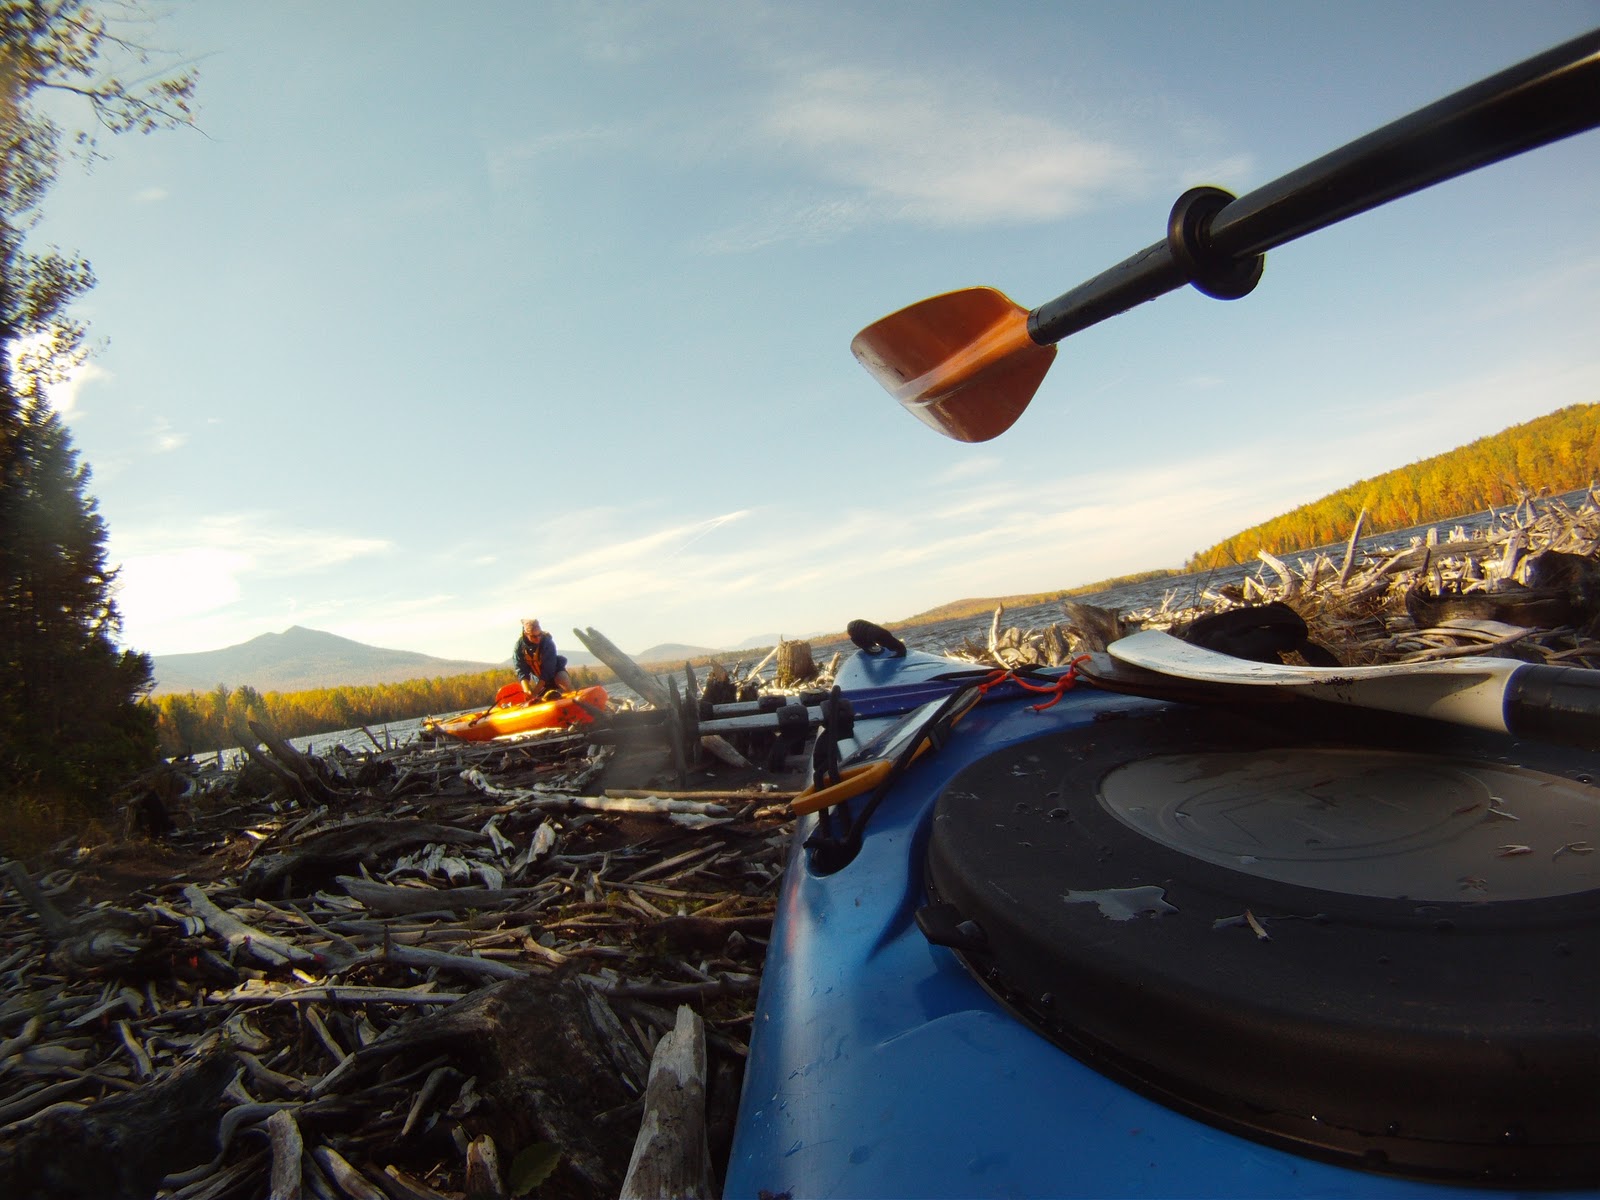
The portage: the road was nearly completely submerged, which worked great for us! We only had to pull the kayaks out of the water for a few feet. The western bank of the isthmus was difficult to deal with. It was mostly flooded and full of weeds and bog-like vegetation which mostly too thick to paddle through and mostly not firm enough to stand on. The windward bank was a tangled mess of driftwood and dead trees.
View Larger Map
 |
| The first portage: a thin isthmus where a road (of red steel gate infamy) crosses the lake. The road is mostly submerged here. |
 |
| Reconnoitering… |
 |
| Finding our way through the second portage. |
 |
| This may be our best option… |
 |
| After a lengthy search, we decided to just haul the boats over this mangled pile of driftwood and dead vegetation. |
 |
| Portage number two. |
 |
| Hauling the kayaks – they’re way easier to handle when they aren’t full of hiking gear. |
 |
| Portage two: not so bad after all… |
 |
| Considering our options… |
 |
| Checking on the solar panels. |
 |
| A pit stop… |
Now, right around here I must have whacked the shutter button on the GoPro. So here concludes the GoPro footage. Fortunately Ziehl, has plenty of still photos from his point and shoot, which I imagine will surface on his page shortly… Anyhow, be sure to double check that your camera is still recording from time to time! After the portage fiasco was resolved, we encountered pretty smooth sailing for the rest of the day. We followed the Lake as it wrapped around the Bigelows back toward Stratton. Eventually we spotted the Boat Ramp across the street from Stratton Elementary School. We landed the boats and hid them in the bushes while we walked back to the car, about a mile and half away off of Main Street. Reunited with the Pathfinder, we collected the boats, unloaded them, put them back on the roof and went straight for the White Wolf: the only bar in town. Neither of us had ever been to a bar which was ‘the only bar in town’ and we wanted to see what such a place might be like. We were pleasantly surprised by the limited yet carefully selected draft list (Long Trail, Carrabassett, Shipyard, Gritty’s) complemented by a none-too-shabby list of bottles. We had a quick feast, a couple of beers and then set off in search of a camp site for the final night. We settled on Stratton Brook Pond. Monday We skulked out of our tents, ahead of schedule for the first time of the trip. After a quick look around, to see what we’d missed in the dark, we tossed our gear in the trunk, rigged the kayaks for the highway and hit the road in search of breakfast. The Looney Moose in Stratton turned out to be just what the doctor ordered.
 |
| Our camp, with the Bigelows in the background. |
 |
| Sunrise at Stratton Brook Pond. |
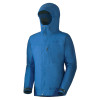
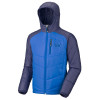
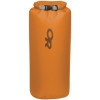
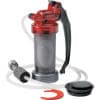
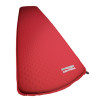
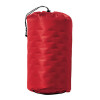
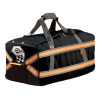
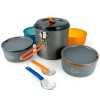
Gear List (click links for more product info):