Author Archives: Andrew Ziehl

About Andrew Ziehl

An avid outdoorsman.

At long last, my Jeep is fixed!

Although I’m withholding final judgement–the beast is fixed!  Anyone who knows me knows I’ve had problems with my 1995 Jeep Grand Cherokee Laredo 4.0 6-cyl for what seems like ages.  It’s been having issues (well, one issue in particular) since at least fall of last year. I’ve only owned the car for 5 years now, and I didn’t want to give up on it just yet–most of the time it ran great.

Fixing the car was definitely an adventure involving a lot of research, trips from Boston to Autozone and my parents house to work on the car in their garage.  I also had it in a shop a few times for minor part installs, in hopes they would have a solution.

Get ready for a  long winded account of how I fixed it.

The problem

Last fall, my car started randomly “stalling” while I was driving–and it’s an automatic.  This would happen at any speed, in any gear, at completely random intervals.  For awhile I was completely stumped, sometimes I’d go an entire trip without a hitch, sometimes it’d be stalling left and right.

(If you’ve happened to find my site searching for a solution to this stalling issue, skip down to the solution heading.)

Eventually I had to start telling my friends, “hey, if my car stalls while we’re driving, don’t worry about it, it just happens sometimes.”

I did some routine maintenance stuff and cleaned a few parts, but even after reading countless posts on Jeep forums, I didn’t know where to start–it could be any number of things, for example, my Jeep computer could’ve gone haywire.

I took it to a shop, and they had no ideas.  It was definitely an esoteric Jeep specific problem.

The arduous process

I then decided I’d have to figure it out myself and do the fix, rather than have a shop throw parts at the car and be charged premiums on parts and labor.

I started reading Jeep forums about similar issues–a lot of them.  Whenever I had some time I’d try all sorts of keywords to locate someone who had my problem.  There was tons of information on the internet, especially since Jeep owners in particular seem to love to tinker with their cars.

In the meantime I started replacing things that needed to be swapped out of my almost 16 year old car, and also tried a few parts that were my best guess from what I’d read.

I did a bunch of stuff, starting with simple tasks like cleaning the battery posts and throttle body. Eventually I replaced pretty much the entire ignition system–ignition coil, wires, spark plugs, distributor cap & rotor, and the cam shaft sensor.  The spark plugs were worn, and the coil was cracked so it was good to get new parts in there.  I changed my fuel filter and oil filter.  I had the map sensor, o2 sensor, and coolant temperature sensor changed.  I cleaned the IAC sensor, eventually changed it, then changed it back.

None of this fixed the problem, although it did help the car.  It took a number of weekends to swap out the parts.  Whenever I had a free day I’d go home and do just a few parts, since I didn’t want to install too many new parts and not be able to test the effect of each one on the car.

The solution

One part that kept being mentioned online was the Crankshaft Position Sensor, or CKP / CPS as I’ve seen people refer to it.  At first I ignored looking at it, because it was one of the more expensive sensors, changing it involved becoming a contortionist (as one Jeep owner put it), and it wasn’t always the fix.

What the sensor does is magnetically determine gaps in the teeth of the crankshaft disc, and use the output voltage as an aid in the rest of the engine’s timing to control emissions.

Eventually I ran out of other ideas, and so I bought a Duralast Crankshaft Position sensor. Not to ruin the suspense, but if there’s one thing I learned while replacing this sensor, it’s this: Don’t Ever Buy Duralast Sensors for your Jeep.  In fact, I plan to avoid Duralast if at all possible in the future. You’ll see why in a moment.  I read warnings from other Jeep owners on the forums, but figured I’d be fine.  I was wrong.

A few months ago I replaced the old Jeep CKP sensor with the Duralast one.  It took awhile.  The youtube video I watched said you needed to remove a bracket in front of the CKP bolt to get it at.  Nothing is ever as simple as it sounds on an older car–this bolt and bracket were completely rusted together.  Also, as I found later, you don’t need to remove this at all.
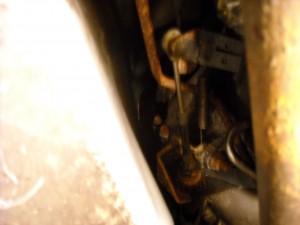
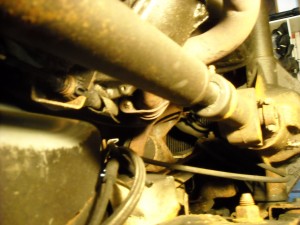
View from under my Jeep

View from under my Jeep. The Crankshaft sensor is held in by the top bolt that is in the middle of the photo, and it goes into a slot on the right.

The results was this:  the car no longer stalled (great!), but every 15 minutes or so in a cycle it would buck and miss and stutter and have no power when you try to accelerate.  It was even less drivable.  It actually took me awhile to link the change in the symptoms back to the new part, I think I just couldn’t believe that a brand new part could be faulty.

At this point I was desperate.  I was so sure the new sensor was going to fix the issue, and now instead I had a new problem!  What the hell.

The right part for the job

I redoubled my efforts on searching Jeep forums until I found a few threads that convinced me the Duralast part wasn’t going to fix the car, I needed a real MOPAR original Jeep part.

My Dad managed to swing by a nearby Jeep dealer, since of course I was stuck in Boston without a working car.  He picked up a new sensor, and I came back on the train to do the install, a trip which was quickly becoming routine.  I pulled the CKP out again, much quicker this time, only to discover that I had the wrong MOPAR part! I couldn’t believe it.  The Jeep parts department at the dealer swore to my Dad it was the right one.  Instead I had a harness for a Cherokee…not a Grand Cherokee.

This weekend for a third time I pulled the part, and finally swapped in the new (correct) one.  After about 2.5 hrs of driving, I haven’t had an issue.

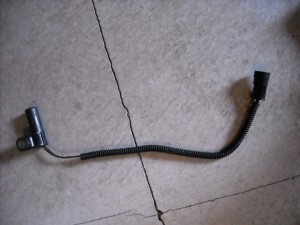
The offending part

The offending part. The crankshaft position sensor.

This week I should finally be able to call my Jeep fixed, and not have to worry about repairs for awhile.  It’s been a long road to this solution.

The underside of my Jeep.

The underside of my Jeep.

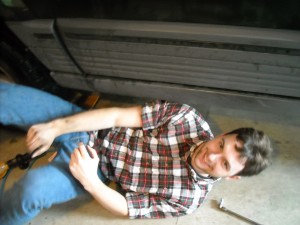
Getting out from under the car after the succesful repair.

Getting out from under the car after the succesful repair.

This repair wouldn’t have been possible without the help of my Dad and his expansive tool set, nor the countless posts on similar Jeep problems from various Jeep forums.  If anyone finds this page who has the same problem and wants any information, feel free to contact me.
Quincy Quarries Morning Climb

This Sunday around 7 am I drove down to the Quarries with my friend Sukes, only our second time climbing outdoors this year.  My friend Dwight biked down to meet us, and after our usual stop at Dunkin’ we were on the wall with our anchor set up by 8.  It was Dwights first time climbing outdoors, luckily he had a decent camera on his phone, since I’d forgotten mine.

We were top roping, basically the only type of climbing I’ve experienced so far.  This winter I got some quick draws, a rope and a helmet to use at Rumney later this season, but we’re still getting warmed up right now.

But first, a little history

One of the interesting things about Quincy Quarries is how much it’s changed in the past 10 or so years. As with any area, the rock itself has changed, but the Quarry today looks much different than how it is described in a guidebook I picked up in Acadia, called Rock Climbing New England.  Before the big dig, the Quarry was about 20 feet deeper, some of it was on private land and fenced off, and a much greater portion was filled with water.

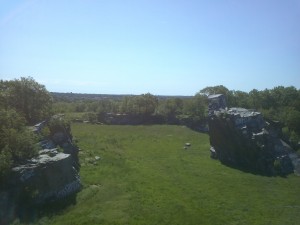
The Quarry

The frontside of the Quarry. Credit: Dwight's phone.

Today the once 70 foot walls have been filled in with dirt from the big dig to reduce the cliffs to 50 foot climbs, and the private land has been opened up allowing access to a few more walls.  Almost all the routes in my guidebook look radically different.  Since I’m new to climbing, I only know the Quarries in the state they are today.  There are some convenient anchor bolts on top of cliffs you can scramble up in sections.  A good portion of the Quarry is covered in graffiti as well which can make starting holds slippery.

First pitch of the day

Since we haven’t looked into the new route descriptions much, we don’t always know what a routes agreed rating is, which can be fun, and sometimes frustrating.  A few weeks ago Sukes and I were climbing with our friend Mike on some new routes for us, and I hadn’t made it up the harder one, so that’s what Sukes and I set on first.

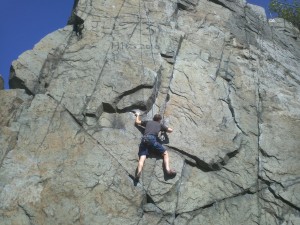
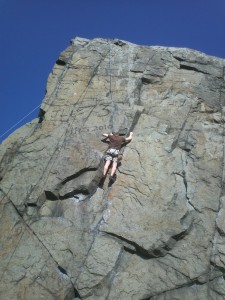
Sukes at the crux

Sukes at the crux. All photos credit Dwight and his phone.

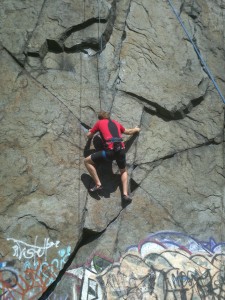
Me repositioning

Me repositioning.

I climb in the gym with Dwight, but he hadn’t made it outdoors yet, and was a little challenged by the granite, and small, questionable footholds.  Sukes and I sent the first pitch, which I felt pretty good about after floundering at the crux on my previous attempt.   Dwight gave it a good effort, but decided to call it so we would have time to set a different route.

I was interested in which route we’d been on, so I did a little searching this afternoon and found a great site with details on the various quarry walls.  They also had a great diagram of the routes on K wall, one of the highest and probably most popular.  Oddly, we were the only group there until about 10 and then by 11 one or two other groups were trickling in.

The route we hit first was described as “Pins”, a 5.9  that mostly goes straight up a small crack system. The crux is right in the middle of the wall where there is a large pocket.  It’s labeled in green in the diagram of K wall.

Dwight gets on the wall.

Dwight gets on the wall.

Resetting and bouldering

While Sukes pulled the anchor I coiled up my rope and we headed over to the shorter M wall to set on a route Mike, Sukes and I had a good time on, figuring it would be easier and give our fingers a rest.  While Dwight was climbing with me on belay, Sukes, who apparently has balls of steel, solo’d the ~5.5-5.6 to our right and topped out at about 25-30 feet.

Dwight eventually had to head out, so Sukes belayed me up the pitch, which I couldn’t find a description of, but maybe varied between a 5.5 – 5.7.  It has an interesting start, with a big slab and juggy holds in the middle and a couple fun moves near the top.  After a clean climb, Sukes and I were feeling good but not particularly interested in setting up another anchor, so we started bouldering.

To our right on the M face, there were some nice undercling moves and a crack system leading up to a big jug ledge that we attempted a few different ways. As it was getting towards noon we headed out and avoided getting burned from the peak sun of the day.

We’ll probably be hitting the Quarries again next weekend in preparation for some picturesque climbing in a few weeks up in Acadia, which we made a trip to late last fall.

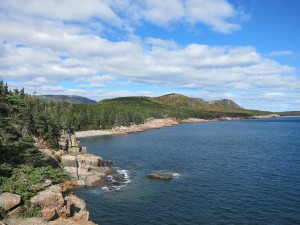
I can’t wait for some views like this:

Otter Cliffs

Otter Cliffs in Acadia

Other Photos:

Sukes prior to his reach move.

Sukes prior to his reach move above.

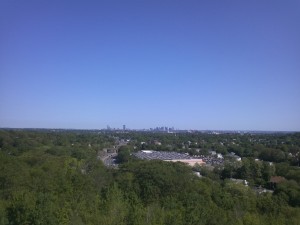
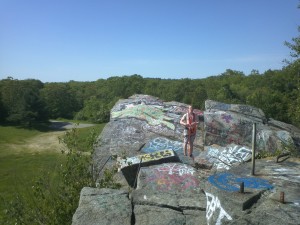
Boston from the top of the Quarry

Boston from the top of the Quarry.

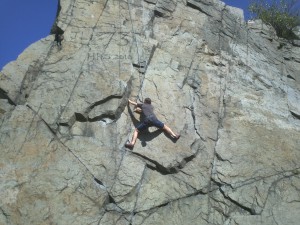
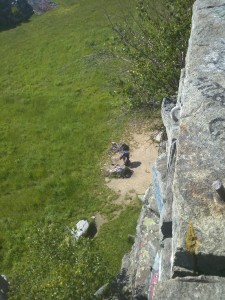
Me trying the same move as Sukes

Me trying the same move as Sukes. This didn't work for me so I went up the left crack near my hand.

Looking down to our gear.

Looking down to our gear.

Sukes with the anchor.

Sukes with the anchor. We had a sling, some webbing and a 2 'biners for this set up.


Pack Weight

I haven’t been out on a serious hiking trip yet this season, but I figure it doesn’t hurt to prepare.  With the addition of my new gear, I’ve put more thought into my overall pack-weight recently.  I was astounded by the weight Ray Jardine carried on his thru-hikes–an unfathomably low 8 1/2 lbs sans food and water.  He hiked with his wife, so they were able to share some of their gear.

Here’s a rough outline of my current gear:

  • Pack 73 liter capacity:  5lbs 4 oz
  • 45 degree sleeping bag: 1 lb 3 oz
  • 2 man tent: 3lb 6 oz
  • Tent footprint: 8 oz
  • Knife: 2.8 oz
  • Stove:  2 oz
  • 2 person cookset and pot: 17.8 oz
  • Camera: 4.4 oz
  • Headlamp: 3.1 oz
  • Water purifier: 14 oz

Total Weight: 13 lbs 1.2 oz

Edit: I forgot about my sleeping pad which weighs 27 oz, and brings the total to 14 lbs 12.2 oz.

This doesn’t include a few variables like fuel, first aid, rope, stuff sacks, clothes, a journal, or maps, but I think its fairly representative of my base pack weight without food or water.  I don’t have scales that can measure in ounces so you’ll have to cut me some slack. While this isn’t 8.5 lbs, it’s not bad, considering I’d be able to share some of that gear if I was with someone.

The first thing I noticed is that my pack alone weighs more than any other item I put in it, and that it’s close to 1/2 my total weight.  This is probably an issue, and while I don’t think I have a bad pack, I immediately went and removed the “lid” from the top, figuring I don’t need the extra space when my pack is so large, and I could shave a good couple ounces.  The lid on my Osprey pack is meant to be removable and used as a lumbar pack, so it’s sturdy and has its own foam padding inside.  I’ve never used it as a lumbar pack–nor do I plan to.

I might also try the pack as a day pack and remove the hip belt to see how that feels, though I’m not sure it weighs enough to really be worth removing.

I’m not planning to start counting ounces, and cutting inches of canvas straps from my pack–yet, but it’s nice to have a reference for how much gear I’ll be hauling around, and to think twice about whether an item is really essential.

While Jardine’s pack-weight might seem a little extreme, it’s certainly an interesting approach to backpacking, and his mileages (he quotes averages over 25 every day of every thru-hike) prove that even if you’re strong enough to carry a huge pack, maybe less is what you need to get where you’re going.


Housatonic Fly Fishing

Last weekend, May 27th-30th, I hopped a train out from Boston (my Jeep being in need of repair) to meet up with family and begin our annual Memorial Day weekend camping trip.  We almost always go fishing, although I’ve only been fly fishing a handful of times.  We were headed the the Housatonic river in Cornwall Connecticut, the premier “classic” east coast trout fly fishing river.  Last year we headed down to nearly the same area, for an entirely different adventure–backpacking a small section of the AT from Jug End in Mass to RT. 41.  This year we opted for some more relaxing car camping.

A little background on fly fishing

I’m still a beginner when it comes to fly fishing, but I felt like this trip I was finally starting to get the hang of things.  There’s a lot of know how to fly fishing, from which fly to use in what river at what time of year, to being able to actually cast said fly where you think a fish is.  Not to mention untangling your line after a (inevitable) bad cast, or re-tying your line completely waist-deep in the middle of a river.

While that may seem complicated and frustrating, I actually find fly fishing to be very relaxing, and rhythmic.  There are two main types of fly fishing, nymphing with a fly below the water, or casting a dry fly on top of the river.  We nymphed almost exclusively, since no trout were rising to eat the flys–even at dusk.

Bash Bish Falls

We fished a good amount on Saturday, but I didn’t get my camera out until Sunday when I convinced my family we should go for a hike.  While their idea of a hike was a little different than mine, we still had a good time. We drove north to Mass, through New York, to get to Bash Bish Falls.

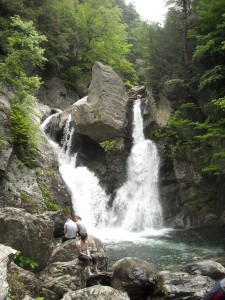
Bash Bish Falls

From the overlook at Bash Bish Falls

I snapped a few quick photos of my family and the falls, we hung out for awhile, and then headed back to camp for more fishing.

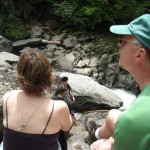
My parents enjoying the view

My parents enjoying the view

My sister with her SLR

My sister with her SLR

Fly Fishing Take Two

After heading out and gearing up at my Dad’s favorite spot on the river, I decided to stow my camera in my chest pouch and risk losing it in the event I fell into the water.  Luckily I didn’t, and we fished the evening away right up until we had to get our headlamps out to find our way back to shore.

You’ll notice there aren’t any photos of actual trout caught during our time on the river.  You’ll have to believe me when I say both my sister and I each caught a decent size trout on Saturday, and a few smaller fish on Sunday.  Since this section of the Housatonic is catch and release only, it was hard for me to get my camera out in time for any of my sister’s fish, and impossible when I had my own fish on the line in one hand, while unhooking it with the other.

Our only disappointment was that although there was a nice evening hatch (flys surfacing on the river), no trout were rising to eat them.  We attributed it to the river still being high from the long winters runoff.

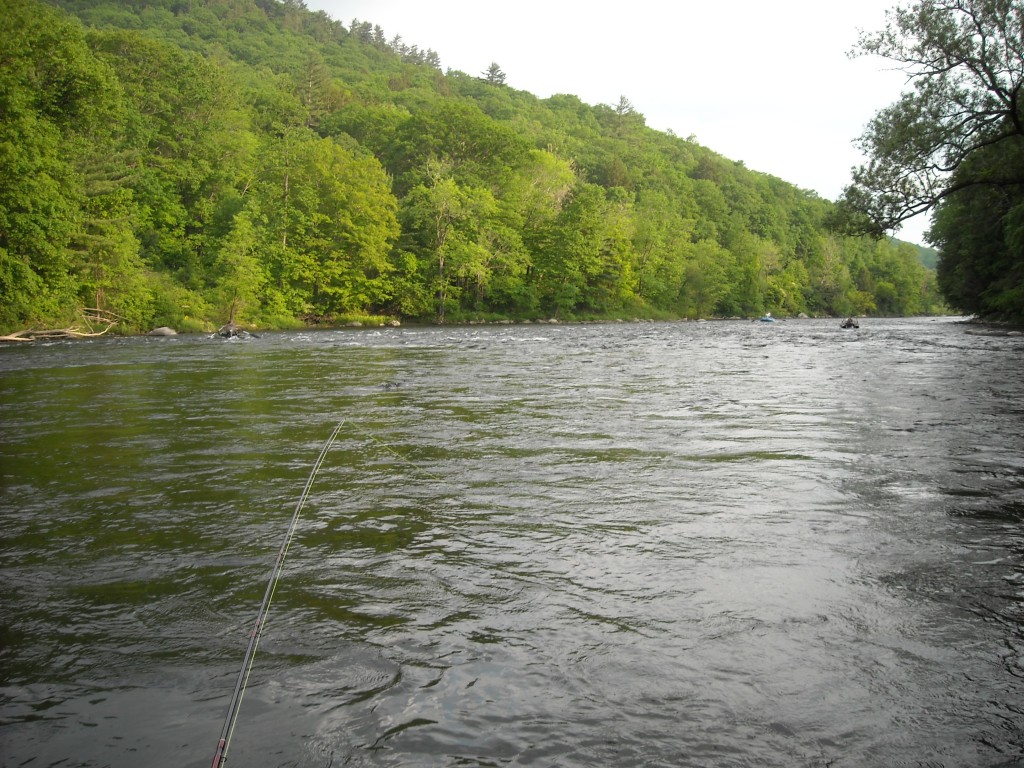
Early Evening on the Housy

Early Evening on the Housy

New Gear

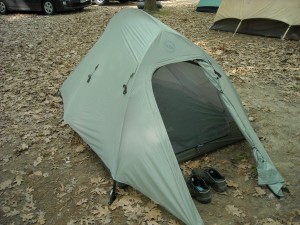
My Big Agnes Seedhouse SL2

My Big Agnes Seedhouse SL2 all set up.

Part of this trip that I was excited about was trying out my new purchases–a ultralight 2-man backpacking tent weighing in a 3 lbs 6 oz, and a new 45 degree down sleeping bag, weighing in at 1 lb 3 oz.  It was great to get used to these on a comparatively luxurious car camping trip, rather than on the trail.

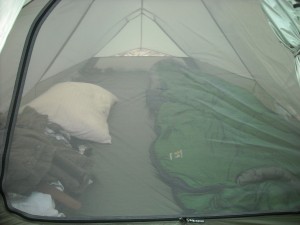
The interior of my abode

The interior of my abode, complete with pillow.

I was extremely happy with both.  We got caught in a strong thunderstorm Monday morning at 6 am, and since we were camping on trampled dirt, my tent ended up in a sizable puddle–and stayed completely dry inside for the duration of the 4 hour storm!  I also think the tent is roomy enough to actually use with two people, although in continuous wet weather I might feel a little cramped.  What I was not happy with, was discovering that my sleeping pad had sprung a number of miniscule leaks, leaving it deflated every morning.  I attempted to patch it without success.  I’ll try again when I’m at home.

Books

Though the storm soaked a lot of our gear, it didn’t stop the book sale my Mom wanted to visit.  I was disinterested at first, but scored 3 great outdoors books for only a few dollars.  I got National Geographic’s  guides to both the National and State parks, as well as a book on rock climbing techniques.  Along with a book I grabbed off the family bookshelf–Ray Jarine’s Beyond Backpacking, I should have my reading cut out for me, to get even more psyched about trips this summer and fall.  I’ve been engrossed in Jardine’s book, his approach to backpacking and thru-hiking, and I’d like to note he invented the Spring Loaded Camming Device, which was revolutionary.

Extra Photos

Since I risked bringing my camera out with me, I’ll include a few photos I took to give you an idea of the Housatonic.

Waiters, the most stylish outdoors attire.

Waders, the most stylish outdoors attire.

Upriver from where I was fishing

Upriver from where I was fishing

My Dad and Beth downriver from me

My Dad and Beth downriver from me. Excuse the blurryness.