Category Archives: Skiing

A Christmas Day Skin

Your alarm wakes you up at 8 am.  It’s snowing lightly.  On another Christmas morning, maybe you head downstairs and open presents, but not this day.  You make a quick cup of coffee, and eat some sticky oatmeal.  Soon you’re on the road with your favorite tunes playing.

The light winter storm doesn’t slow you down, and the next thing you know, you’re parked and unloading at a familiar place.

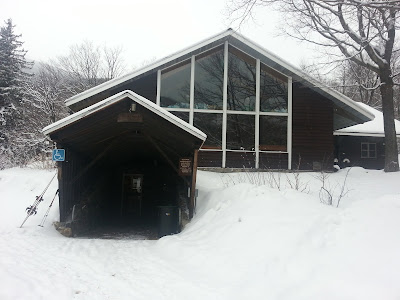
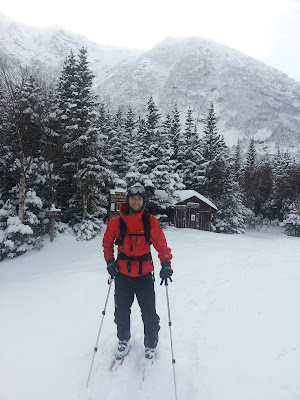
You exchange a Merry Christmas with a few families as you gear up and put your skins on.  When the ranger at the lodge mentions fresh tracks, your heart jumps.

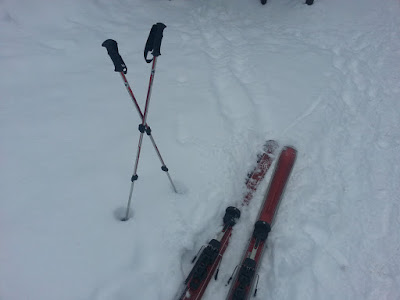
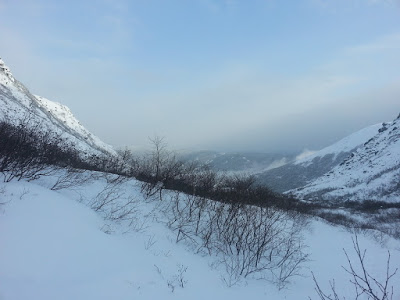
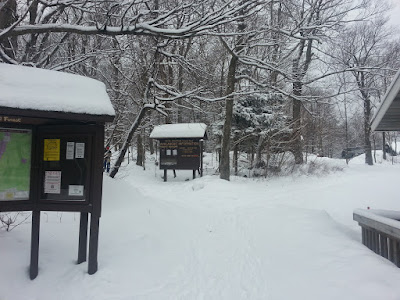
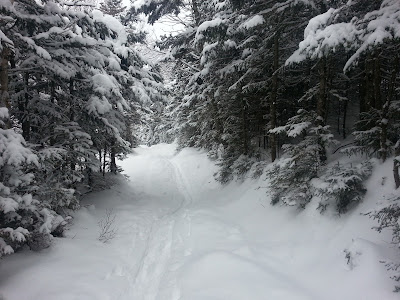
There are a few groups milling about as you click into your skis and leave the trailhead.  You’re immediately greeted by pristine wintry views.

You don’t want to stop, and you don’t have to.  Your skin track trails off behind you as you ascend.

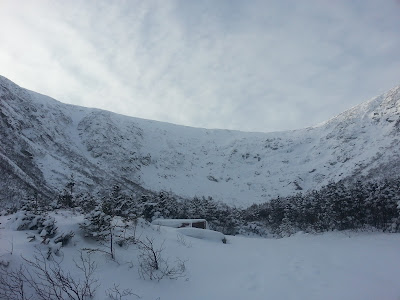
You pass others who are of a similar mind this Christmas day, and before you know it, you’ve reached your destination.  It’s calm, even here, up higher towards the bowl.  You transition, preparing for descent.

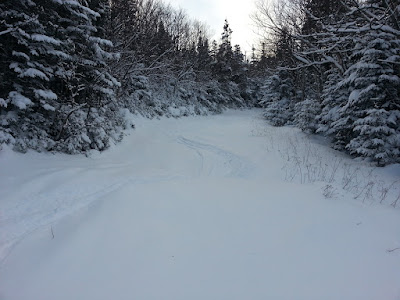
As you approach the ski trail, you see your present, just waiting for you.  The Sherburne trail is untouched, with several inches of this mornings light snow.

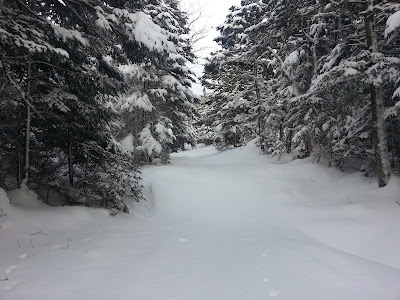
You grin as you ski down, spraying snow with tight turns.
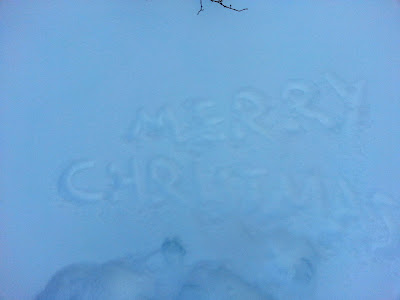
Merry Christmas.

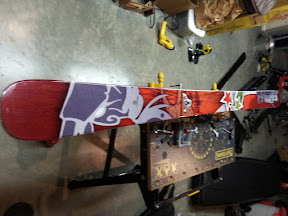
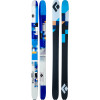
With my family still living in The Netherlands for the holidays, I had Christmas Day to myself.  The Sherburne had 4″ of fresh snow, which I think was a pretty good Christmas present, especially on the heels of the 22″ storm we caught at Jay Peak.  I still need to get Dynafit bindings, so I was on last years touring set-up.  I’m not the fastest at skinning, but for my own personal records, or those who are curious: I made it up to Hojos in 1:20, the first one to set a track since the snow, though not the first one up the trail.  10 minutes later I was refueled, de-skinned, and had de-iced my bindings while chatting with the caretaker.

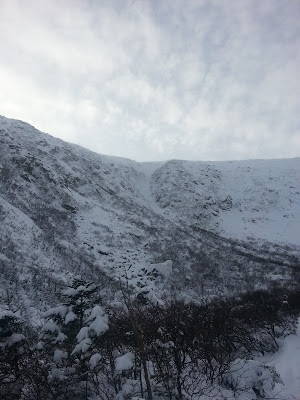
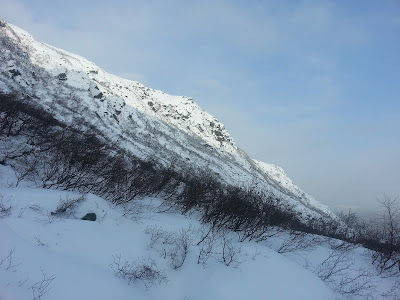
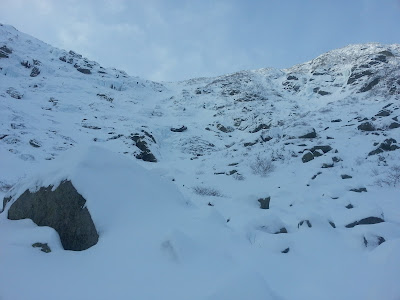
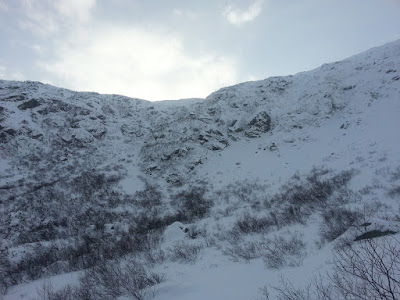
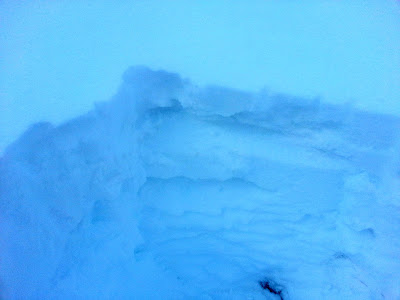
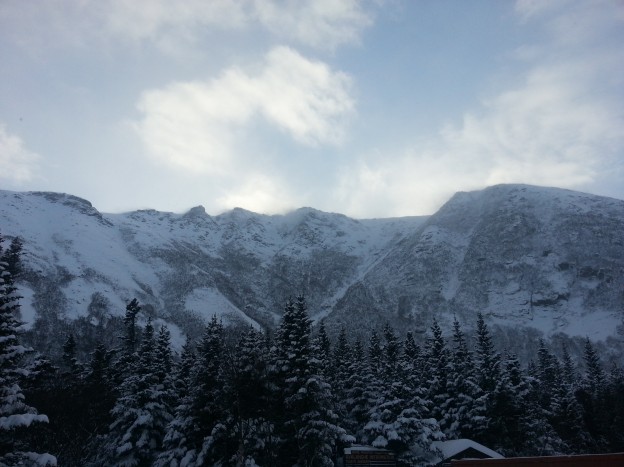
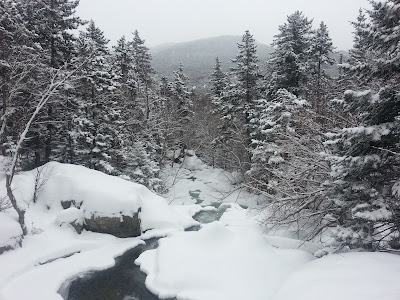
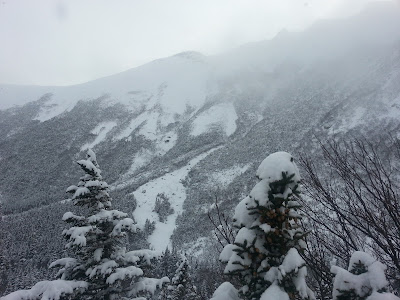
My curiosity got the best of me and I hiked up into the bowl to the lunch rocks to scope it out.  25 minutes after I left Hermit Lake I was at the lunch rocks, the first person to arrive in the bowl for the day. It was very calm, and quiet. The bowl is shaping up, though I expect it will change as there was more new snow last night.

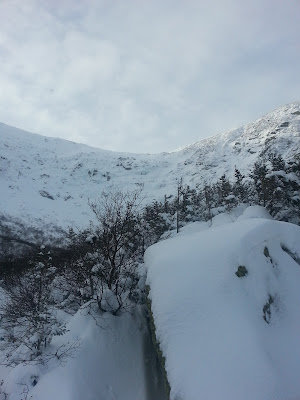
Though my knowledge of snow science is rudimentary, I dug down to check out the layers.  Beneath the new snow there was a variable thickness firm crust, and then 5-6 more crusts beneath that.  The layer immediately under the first crust was fairly unconsolidated.

Enjoy the photos of the bowl!

Winter Readiness: The Daily Driver

Update: Don’t Buy K2 Skis!

These suckers delaminated after just a few weekends of use.  One or two days after they first started to delam, a whole chunk of base material fell away right next to the blown edge.  I thought I’d get away with skiing them for the rest of season, but the damage spiraled downhill so quickly that I decided to send them back to K2 before it got any worse.  When K2 got ahold of them, they just couldn’t believe that the edge separated before the base material started to fall off and assumed that must have hit something really hard.  To my recollection, I never hit anything and the specific order of events was 1) delam and 2) base falls off.  In any event, they only lasted like 12 days (tops) and now their collecting dust in the K2 warehouse.  I’m done with K2 skis, as this is the second pair I’ve owned with lasted less than 20 days on snow.  Not sure what the hell I’m gonna do with Hardside Custom skis – maybe REI will take them back, because I surely have no use for them now.

Continue reading

Grep Prep: Swap Plate Mounting

It’s possible you’ve heard of binding swap plates before.  It’s also possible you’ve even mounted swap plates to your skis a number of times.  If so, this might be old hat to you, but personally this is only the third mount I’ve done.

For anyone new to swap plates: swap plates are machined pieces of aluminum that allow you to swap multiple sets of bindings onto a single pair of skis, such as switching between Tech bindings (Dynafits) and in-bounds or side-country bindings.

Disclaimer:  I’ve never mounted plates before, so I thought it would be useful to document my process. I don’t have any background as a ski technician or working in ski shops, but I do want my skis to be set up as exact and perfect as possible, so I was incredibly careful.  It was definitely a measure a whole ton, drill once, situation.

This year I picked up two new pairs of skis: I perhaps optimistically got a pair of used Praxis Powderboards, and a brand new pair of Blizzard Bonafides.  I’m pretty amped up about both pairs, and my initial reaction to the Bonafides is that there’s nothing not to like, though the real test will be when some big storms hit and touring season begins.  I wanted to dial in both setups and be able to swap my pair of Rossignol 10-18 Axial2s between them, while being able to mount Dynafits as well.  Luckily, Binding Freedom came out with DynaLook plates for just this purpose.

Binding Freedom’s plates come with everything needed for mounting except a drill.  The included templates work great for lining everything up.  I used them last year when Rob helped me mount Fritschi’s on my Helidaddys.

Prior to setting up my own skis, I refreshed my memory using Brian’s post about inserting quiver killers.

Mounting Process

Alright, enough rambling.  Here’s the step by step process for mounting plates to your skis properly:

Before beginning: Grab a drill, bits, a posi-driver (#3 philips screw driver), a hammer, something to punch starter holes with, scissors, masking tape, a sharpie/pen, a ruler, clamps, and a sturdy table to clamp to.

Lay the first ski on the table.

1.  Find the center line on the ski, and determine where you want to mount relative to the line.  Center marking on boot on the line is fine in many cases.  Mark it with a sharpie.

2.  Find the center of the center line, to properly line up the center of the paper template.

3. Cut excess paper off the template, and tape it together at the correct BSL.  It’s also a good idea to cut notches near the BSL marking to properly line the center of the template up with the center of the ski.  I also cut a square out of the center of the template to reveal the markings I’d made underneath.

PlateTemplate

Ski with template cut and taped in a roughly correct position. Notice the sharpie marks at the center line, and the hole cut at the center line.

Template close-up

Close-up of the template.

4.  Do lots of measuring.  Make sure that at least each end, and the center is centered on the ski, aka equidistant from the edge.  I used a T-square and made measurements from the center of each hole to the edge.  As you get the template in the correct spot, tape it to the ski with masking tape.

T-square measuring

T-square measuring each hole position.

5.  Center punch each hole.  Mark it if you want for easier location.

6.  Carefully remove the template.  You’ll want to reuse this for the next ski.  You might want to line up the plates on your hole marks after this to ensure you didn’t miss.

7.  Clamp the ski down.

Clamped and ready for drilling.

Marked center punch marks

Marked center punch marks

8.  Tape a stopper on the bit or use a bit with a catch sleeve, so that you don’t drill too deep.  You certainly don’t want to drill all the way through the ski.

Masking tape depth guide based off the screw length.

9. Drill pilot holes, using something lke a 3/32″ bit.  This is especially important for skis with metal so that the bit doesn’t walk over the topsheet.

Toe piece pilot holes drilled.

Toe piece pilot holes drilled.

10.  Re-drill with the larger bit.

11. Grab the plates and mount them.  Use some sort of adhesive such as super glue, just a bit on each screw to hold it in.

Plate with marked punches.

Another look at the plates lined up before drilling.

12. Repeat for the second ski.

Done!

Completed plate mounting!

Completed plate mounting!

I’ve tested the new setup on the hill, and so far I’ve been happy with my efforts.  Everything seems to be holding together well.

Bring on the snow!

Hood Footage

The original plan was to do a whole bunch more editing and get this thing wrapped up properly, but that was like 6 months ago and it’s time to concede defeat.  For posterity, here is the Mt. Hood Highlight Reel, rife with bad lighting, dull moments, and lack of sound track.  It does, however, have some half-decent chase cam.

Eventually I think I’ll bang out a Winter 2012 Retrospective, but for now, here’s this:


Gear List (click links for more product info):

Black Diamond Zealot Ski Strong Blue, 192cmREI Gear ShopFree Shipping on Orders over $50