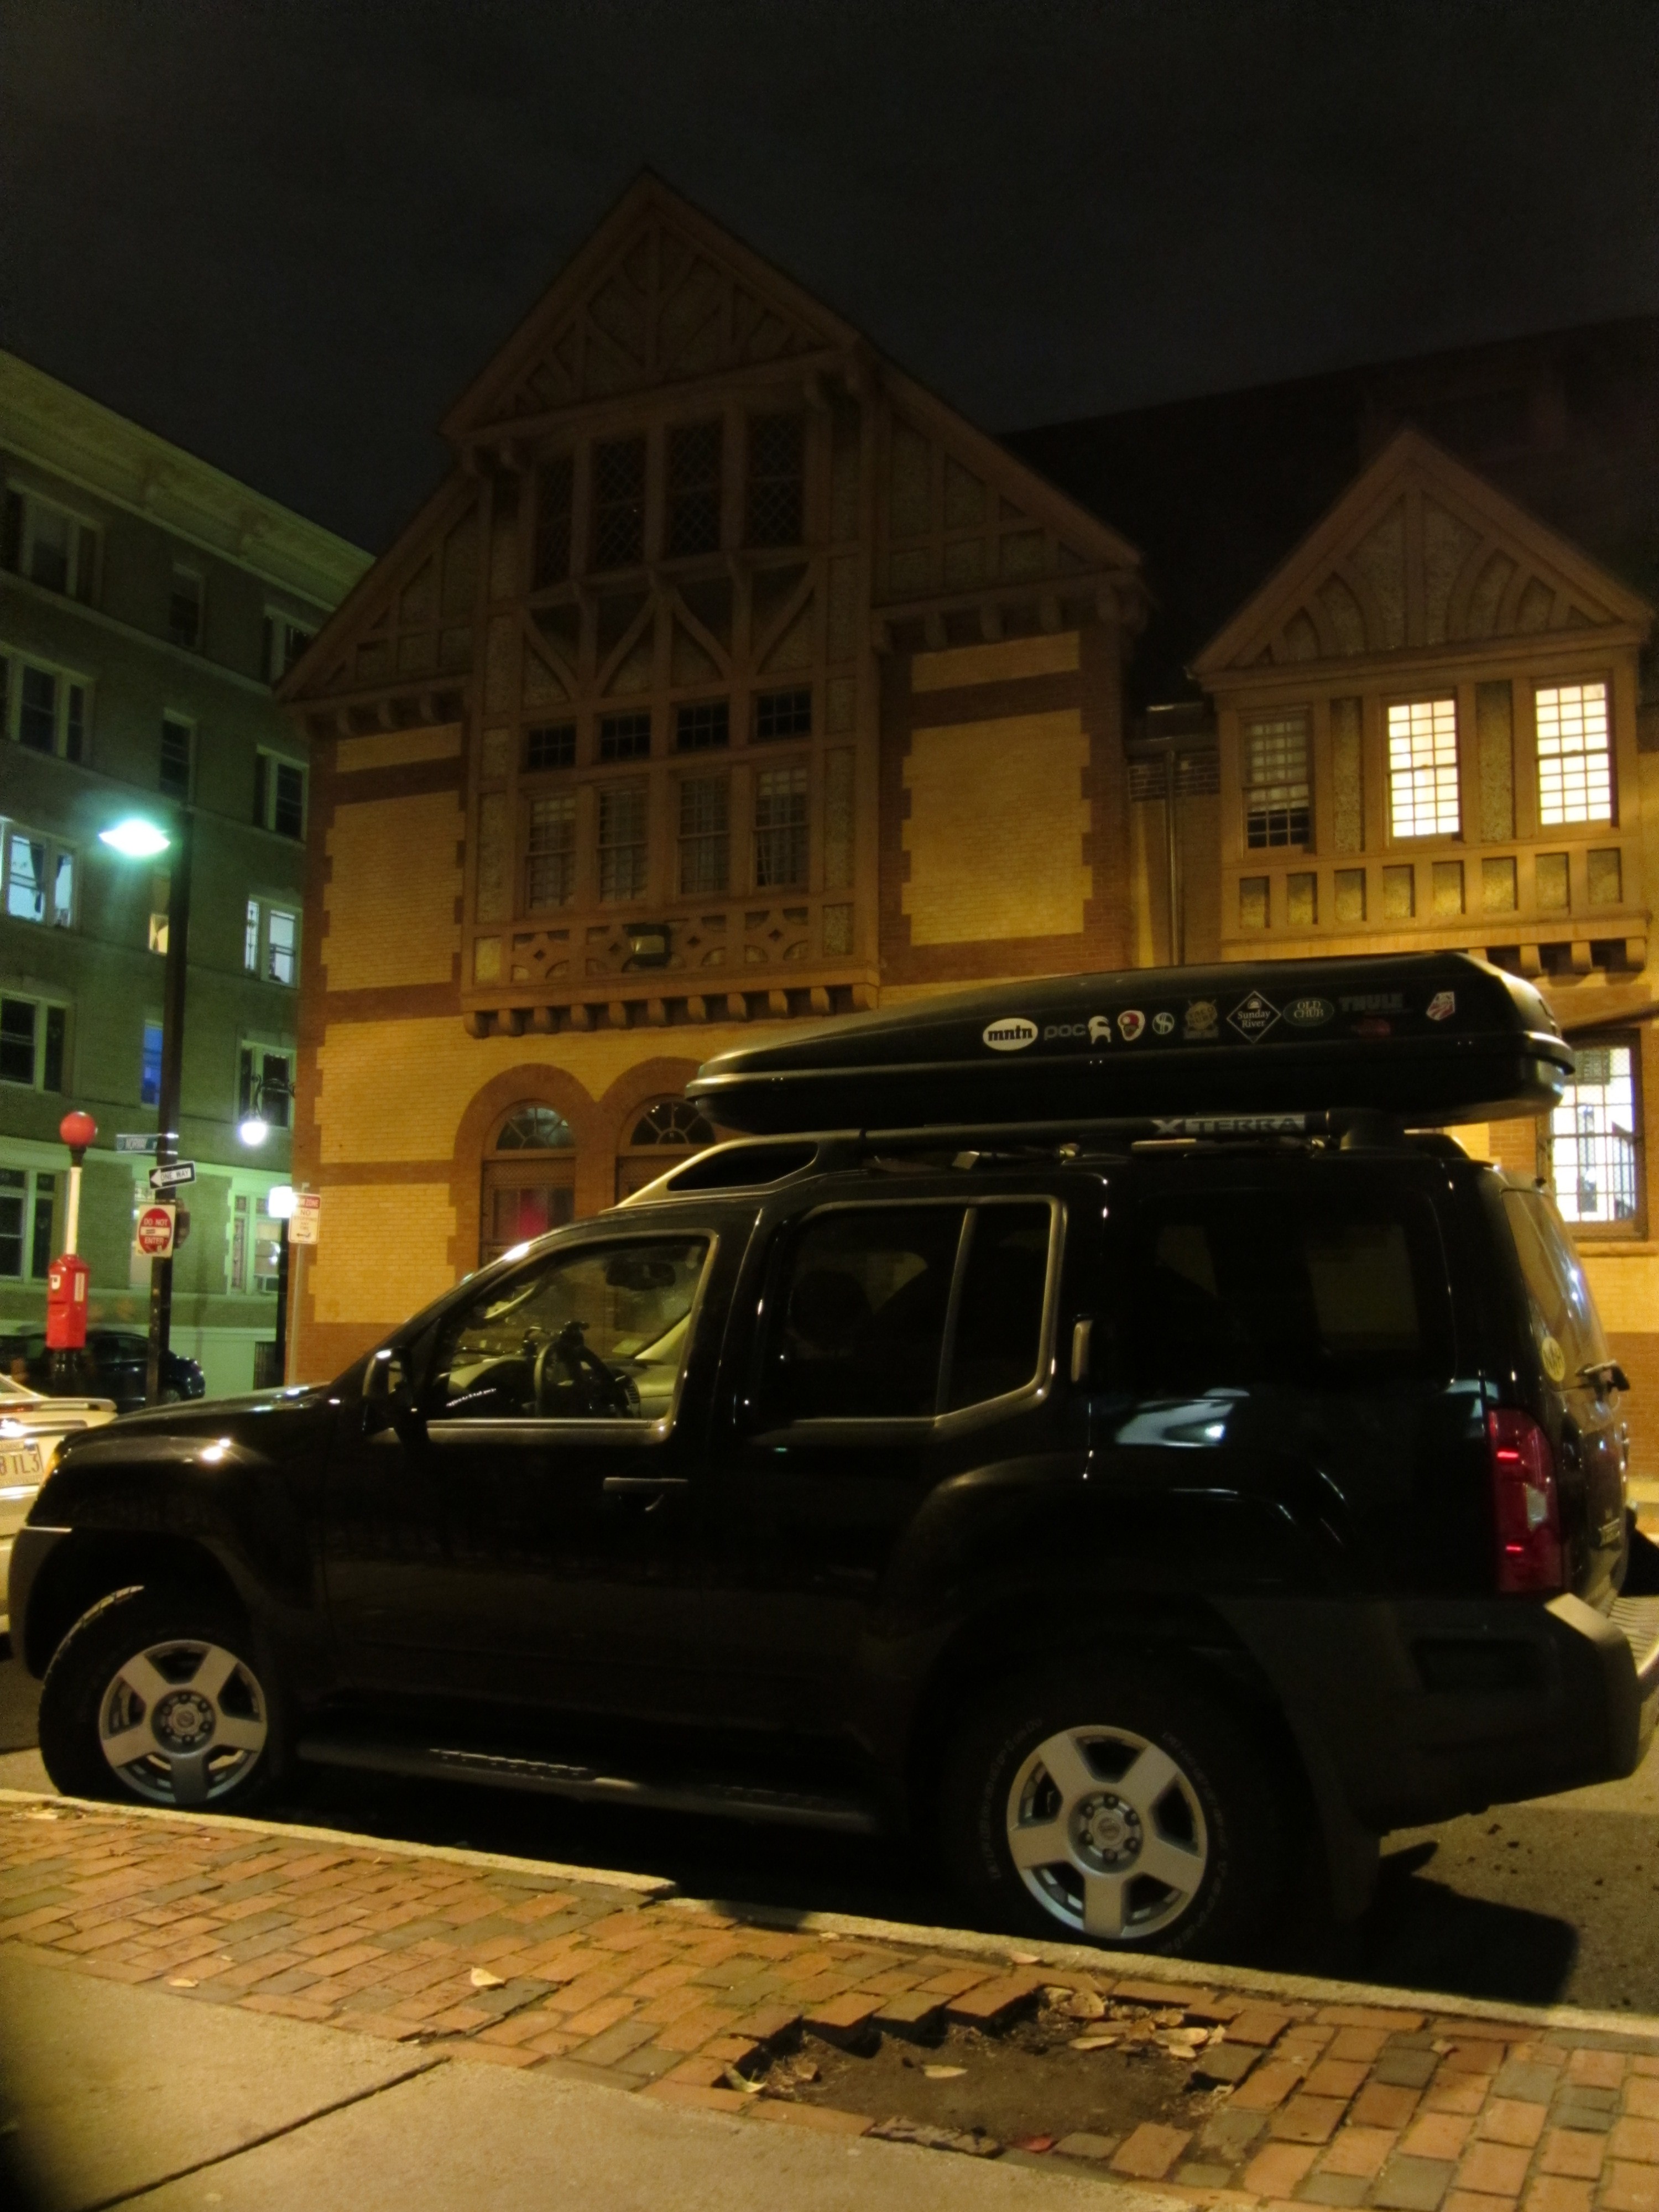
‘Tis the season! With the first weekend of skiing already come and gone, it seemed high time to get the Thule strapped to the roof again. In truth, I wanted to get this done before Thanksgiving, but this turned out to be more of an ordeal than one might imagine. For posterity, the details are documented below.
The original set of mounting hardware finally succumbed to age and the elements, so I junked that stuff, and decided to replace it with new components. Locating the correct set of replacement parts was the first hurdle. The Thule website seems to list only one model of Mountaineer. I made the incorrect assumption, that this must be the only model, and that the parts under the Mountaineer Spare Parts tab would be compatibly with my box. Indeed there are at least two cargo boxes bearing this name, albeit with different arbitrary letters and numbers at the end.
Before ordering anything from the Thule website, determine which box you have! According to Thule, the model number and date of manufacture is listed on a sticker on the inside of the box… After God knows how many years of abuse (my box is second hand), no such sticker was to be found. You can determine which of two you have by measuring the hole spread of the mounting holes drilled in the bottom of the box. The spread on the box linked above is 3 1/4 inches. The hole spreads on the box unlisted on their website (the one I have, apparently ) is 3 11/16 inches. After the exchange of several e-mails, Thule shipped me the correct parts, and I returned the incorrect parts. I could not find them on the Thule website, but are available from other retailers. Why might this be? One can only speculate, but planned obsolescence jumps to mind rather quickly in the absence of any rational explanation…
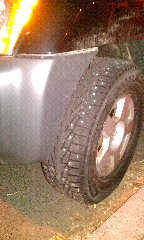
Armed with the correct replacement parts, I began the next phase of this roof rack adventure: getting the damn thing attached to the car. Yet again, this was less than straight forward. My adventuring vehicle of choice these days (and likely for the next 150,000 miles) is an ’07 Nissan Xterra. The Xterra is a superlative light truck for the amateur adventurer, armed to the tooth with all sorts bells and whistles aimed squarely at the die hard weekend warrior, yet has one aggravating short coming: the factory cross bars are of cartoonishly large proportions. No doubt, some fool in marketing got his way, arguing that they would look more burly in glossy brochures and TV ads. In any event, most roof racks aren’t really built like this, and the replacement parts (shown below) do not quite wrap around these industrial sized crossbars.
Solutions to this dilemma include the following:
- Skip some parts.
- Spend more money.
- Custom mods!
Last time around, I opted to skip the lock washers (part E above), and the foam pads (part K). In hindsight, this was a decision of dubious merit. They probably include those parts for a reason…
In the spending more money category, Thule offers a bewildering array of adapter kits, which probably work just great. The appropriate parts (I think) for this job are linked below in the Gear List. However, when one has as vicious an adventuring habit as I do, every dollar counts, and thrift becomes the order of the day.
On that note, my dad and I decided to test our luck, with some power tools. Since the additional stack height of a lock washer and two foam pads is hardly more than a few millimeters, and evidently all the difference needed to get the nuts threaded onto the carriage bolts, we reasoned that we could just shorten the plastic sheath that covers the threads on the plastic nuts (part J). The steel threads are recessed fairly deeply inside of the plastic knob, so there is plenty of wiggle room before anything important gets wrecked. We took all 8 nuts to down to the basement and belt sanded a few millimeters off the bottom of them, and presto! Cookin’ with gas!
Gear List (click links for more product info):