Tag Archives: thule

Winter Readiness: Xterrible!

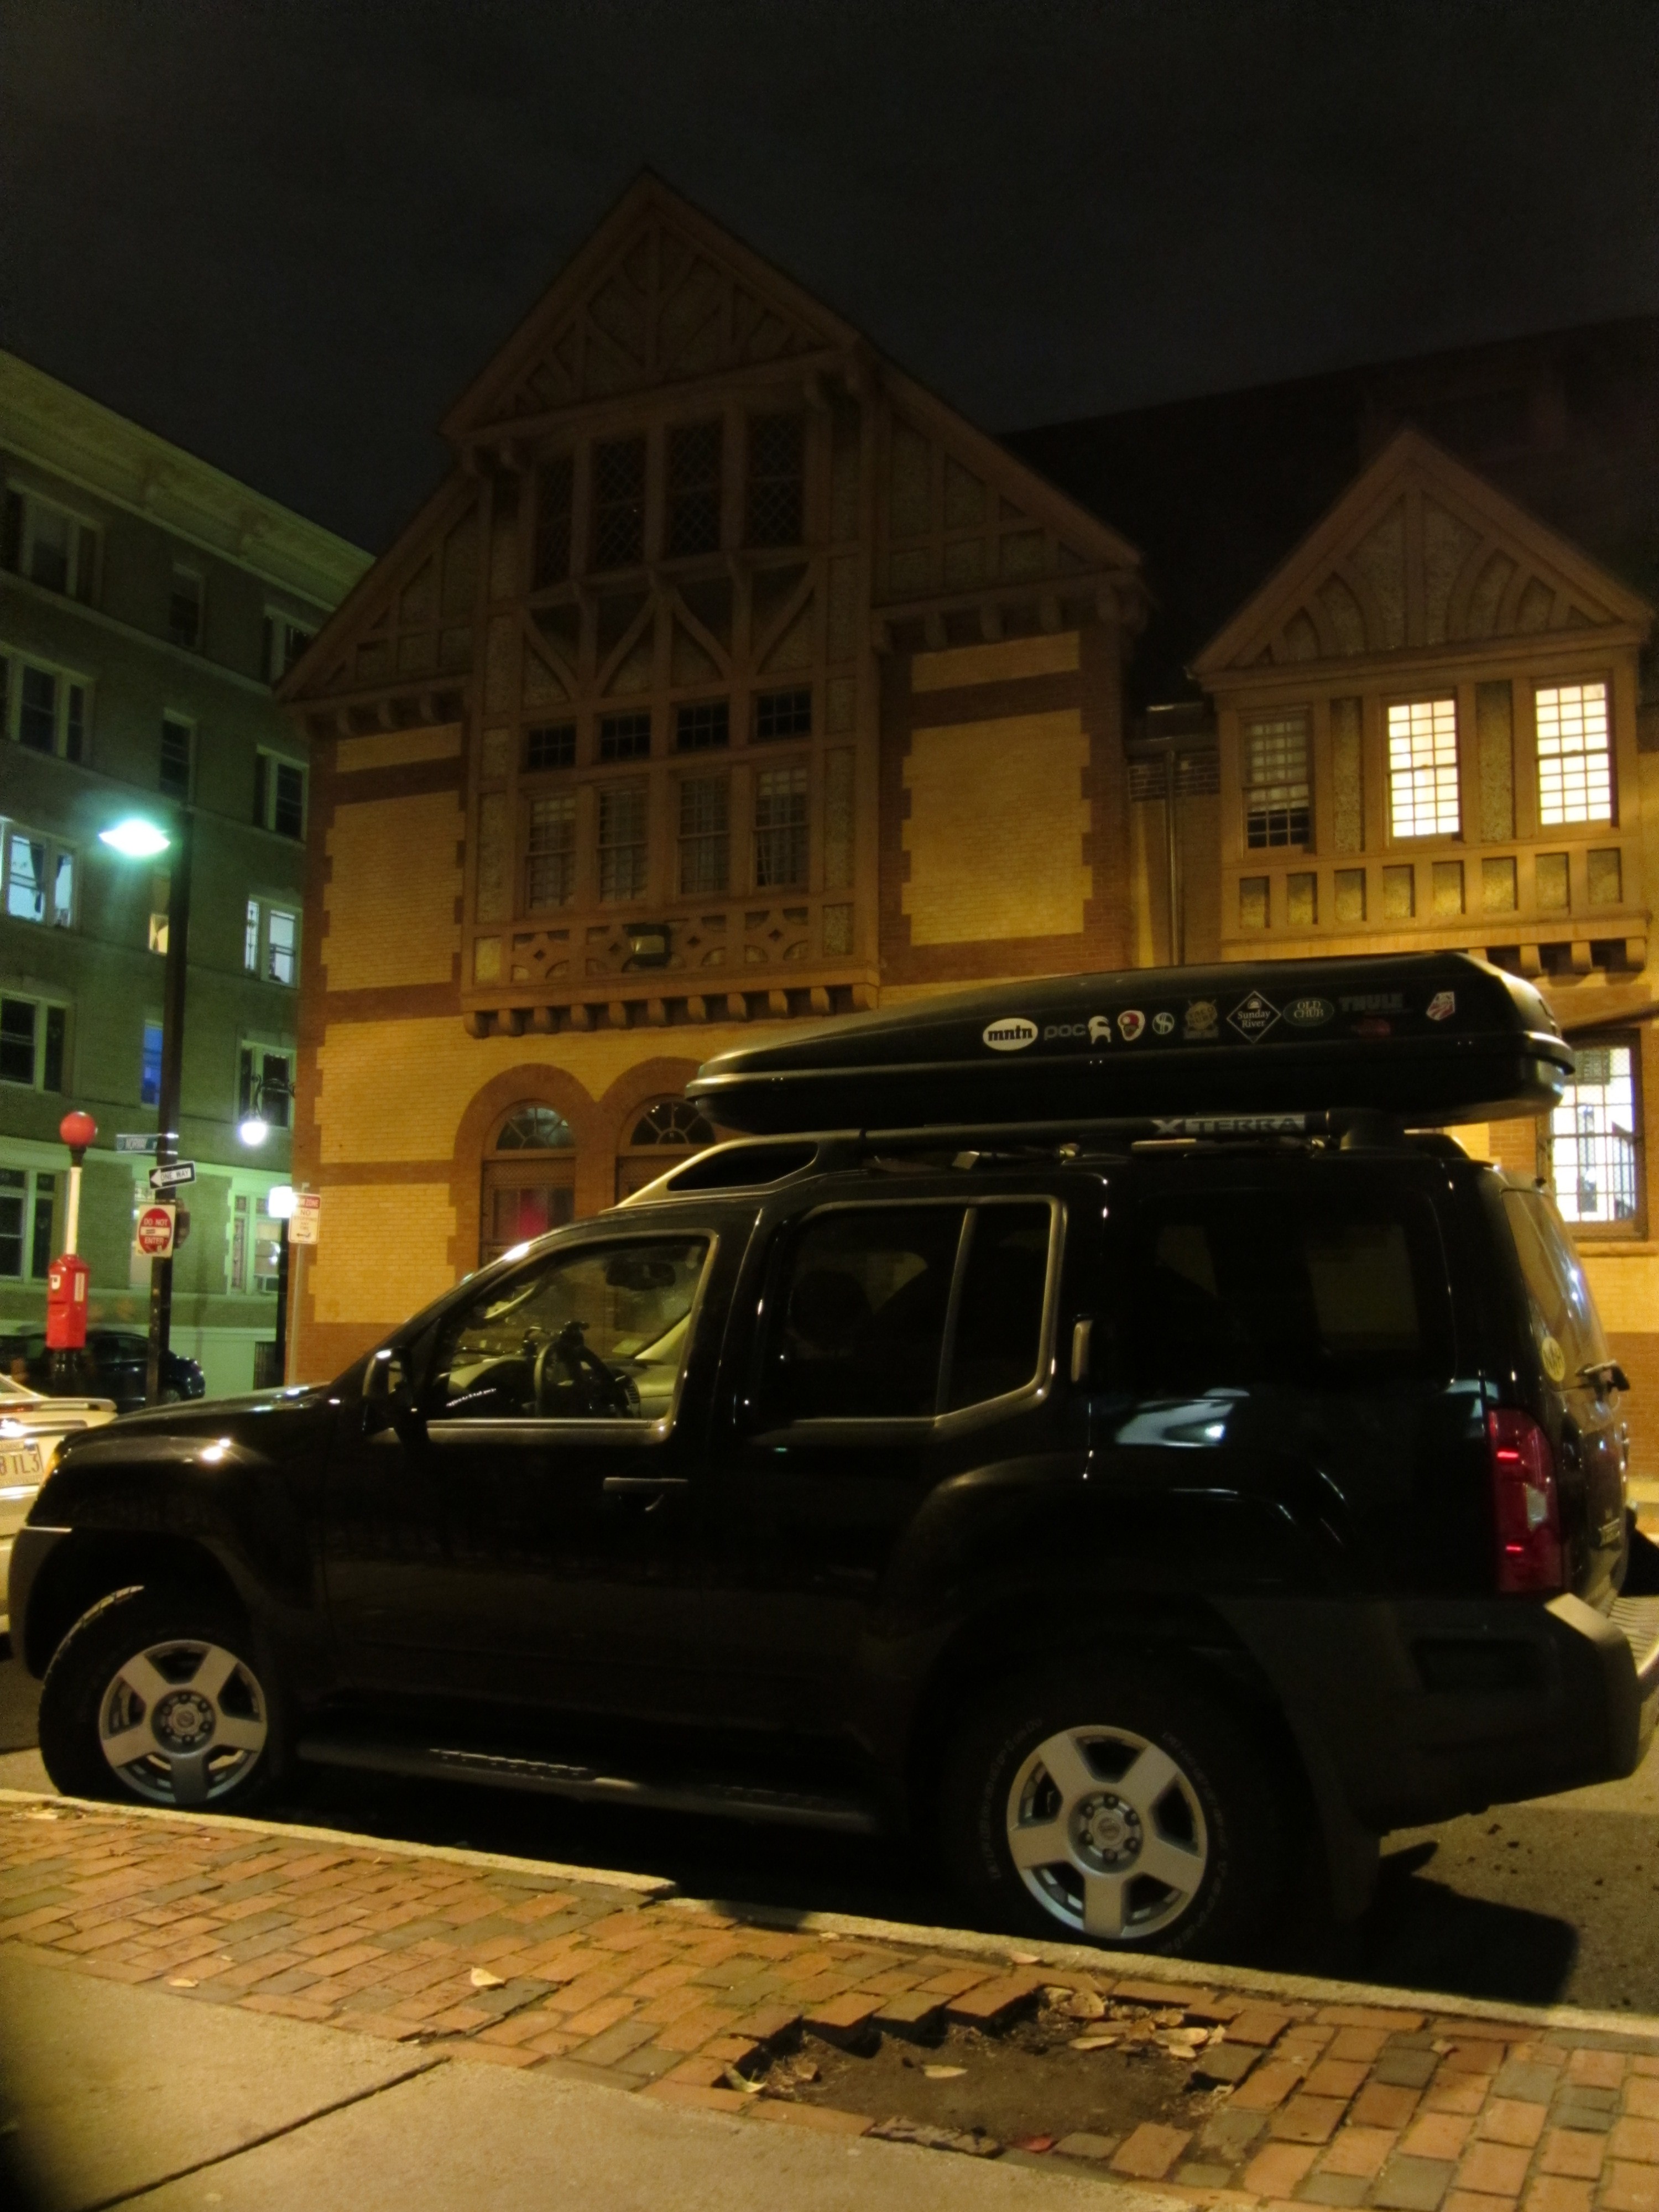
Before Winter 14-15 gets into gear (which seemingly won’t be for a while as of this writing) a couple of nagging issues have to be addressed with our adventure mobile.  Firstly, the second generation Xterra in it’s factory configuration tends to bottom out when hauling ass over big potholes and rough roads.  No fun when riding to or from the mountains exhausted at 10:30 PM.  And second, the infamous Thule tried to sabotage my new carbon fiber skis last winter and such behavior wouldn’t be tolerated again!

The solution to the suspension was simple, however it’s worth giving some backstory.  The suspension itself isn’t really bottoming out.  I have new aftermarket struts and they seem to have plenty of life in them.  After Googling around a bit I discovered that I’m not the first person to complain of this problem (read here and here, or just do some more Googling).

It turns out that the real issue is that there is just not very much clearance between the frame and axle.  The factory bumpstops (hunks of rubber which prevent the frame from bouncing directly on the axle) are really firm and frequently collide with the axle giving the passengers a good jolt.  One of the suggested solutions (and in my case the least invasive) was to replace the factory bumpstops with an aftermarket set designed to offer progressive resistance, stiffening the ride a bit and smoothing big jolts.  You can read more about the solution here and find a solution for your own SUV here.  It’s theoretically a simple install, involving only a few wrenches and some bolts, but after many New England winters my undercarriage was so ornery that it needed a professional touch.

The Thule required a bit more engineering.  At some point last season my brand new DPS Wailer 99s rattled around in the roof box enough to severely damage one of the tips.  After a good deal of staring at my crummy old second-hand Thule Mountaineer, drawing, speculating, measuring and theorizing, we devised a plan.  And then we scrapped the original plan and did something else altogether.

The requirements were simple: we had to be able to easily toss at least 4 pairs of skis into the box in such a way that they would not shift around in transit.  Thule and other have already solved this problem with their flat top style carriers, but I’ve never liked the idea of sandblasting your skis for 2 – 4 hours while en route to the mountain.

The solution was something of a hybrid between the flat tops and the existing box: we fashioned a set of bars which would mount inside the box and clamp down on 4 pairs of skis when closed.  The obvious trade off is that only 4 pairs of skis can ride up top now.  Seems like a fair trade off for peace of mind and longevity of equipment.  Here’s a run down of the action:

IMG_0577

The patient, looking rather surly.

IMG_0579

Home gym flooring found at Home Depot, used to sandwich the skis between the lumber.

IMG_0580

A 2″x6″ cut to size, beveled with a jigsaw and wrapped in strips of the home gym material.

IMG_0581

Bolting the bottom braces into the Thule. We placed two bolts on the bottom and one on each side. The sides were strangely shaped, so shims were cut to size and wedged into place to consume the extra space.

IMG_0582

Screwing the bottoms in…

IMG_0583

Notice that the rubber mats are bolted on the sides of the lumber so that the bolts don’t contact the skis.

IMG_0584

More eye candy…

IMG_0586

Finished product with some big skis, for show. Also, notice the top rails. Those are 2″x4″s ripped in half and wrapped in the same rubber mat material. These are simply bolted on each end.

Winter Readiness: Thule Mountaineer on Factory Xterra Crossbars

‘Tis the season!  With the first weekend of skiing already come and gone, it seemed high time to get the Thule strapped to the roof again.  In truth, I wanted to get this done before Thanksgiving, but this turned out to be more of an ordeal than one might imagine.  For posterity, the details are documented below.

The original set of mounting hardware finally succumbed to age and the elements, so I junked that stuff, and decided to replace it with new components.  Locating the correct set of replacement parts was the first hurdle.  The Thule website seems to list only one model of Mountaineer.  I made the incorrect assumption, that this must be the only model, and that the parts under the Mountaineer Spare Parts tab would be compatibly with my box.  Indeed there are at least two cargo boxes bearing this name, albeit with different arbitrary letters and numbers at the end.

Before ordering anything from the Thule website, determine which box you have!  According to Thule, the model number and date of manufacture is listed on a sticker on the inside of the box…  After God knows how many years of abuse (my box is second hand), no such sticker was to be found.  You can determine which of two you have by measuring the hole spread of the mounting holes drilled in the bottom of the box.  The spread on the box linked above is 3 1/4 inches.  The hole spreads on the box unlisted on their website (the one I have, apparently ) is 3 11/16 inches.  After the exchange of several e-mails, Thule shipped me the correct parts, and I returned the incorrect parts.  I could not find them on the Thule website, but are available from other retailers.  Why might this be?  One can only speculate, but planned obsolescence jumps to mind rather quickly in the absence of any rational explanation…

Armed with the correct replacement parts, I began the next phase of this roof rack adventure: getting the damn thing attached to the car.  Yet again, this was less than straight forward.  My adventuring vehicle of choice these days (and likely for the next 150,000 miles) is an ’07 Nissan Xterra.  The Xterra is a superlative light truck for the amateur adventurer, armed to the tooth with all sorts bells and whistles aimed squarely at the die hard weekend warrior, yet has one aggravating short coming: the factory cross bars are of cartoonishly large proportions.  No doubt, some fool in marketing got his way, arguing that they would look more burly in glossy brochures and TV ads.  In any event, most roof racks aren’t really built like this, and the replacement parts (shown below) do not quite wrap around these industrial sized crossbars.

Solutions to this dilemma include the following:
  • Skip some parts.
  • Spend more money.
  • Custom mods!
Last time around, I opted to skip the lock washers (part E above), and the foam pads (part K).  In hindsight, this was a decision of dubious merit.  They probably include those parts for a reason…
In the spending more money category, Thule offers a bewildering array of adapter kits, which probably work just great.  The appropriate parts (I think) for this job are linked below in the Gear List.  However, when one has as vicious an adventuring habit as I do, every dollar counts, and thrift becomes the order of the day.
On that note, my dad and I decided to test our luck, with some power tools.  Since the additional stack height of a lock washer and two foam pads is hardly more than a few millimeters, and evidently all the difference needed to get the nuts threaded onto the carriage bolts, we reasoned that we could just shorten the plastic sheath that covers the threads on the plastic nuts (part J).  The steel threads are recessed fairly deeply inside of the plastic knob, so there is plenty of wiggle room before anything important gets wrecked.  We took all 8 nuts to down to the basement and belt sanded a few millimeters off the bottom of them, and presto!  Cookin’ with gas!


Gear List (click links for more product info):

REI Gear ShopFree Shipping on Orders over $50

Thule Mountaineer ESThule XAdapt9

Winter Readiness: Thule Repair

Among the casualties of last year’s epic ski season was my Thule Mountaineer: a fifteen year old ski bin which I picked up last fall, second hand for $150 bucks, sight unseen with help some help from my friend Rob and the TGR Gear Swap Forum.  The thing had been in some guy’s garage for God knows how long, but it had clearly seen some action.  The hardware had seen better days; I immediately replaced the mounting bolts with new ones borrowed from my kayak carriers.  The whole thing mostly held up for the duration of the winter, but towards the end of season some fractures in the shell began to develop in a few isolated spots.  Hoping to get some extra longevity out of my investment, I endeavored to repair things before it worsened.

The patient: some severe cracking to the left and below the latch.  Possibly
a stress point? 

The second region of concern: less complex pattern, but larger and
precariously closer to an edge.

The same crack as above shown from the inside of the box.

The proposed plan: drill out the intersections and endpoints of all of the fractures to prevent them from propagating any further and and then attempt to repair the material using some kind of plastic cement.  My Dad dug around the basement and eventually came up with something which claimed to cause localized melting and subsequent re-bonding of many typical plastics.  I figured I’d give it a shot.

A power drill and the smallest bit which will span the largest of the cracks…

Rear fracture: drilled out endpoints and intersections.

Side fracture.

Side fracture after applying the cement to the outside.

Side fracture with cement applied to the inside.

Rear fracture with cement applied to the inside.

Rear fracture after cement from the outside.

Side fracture after a few ski and hiking trips.

Repaired rear fracture.

Repaired rear fracture from the inside.

So far, so good.  I’ve loaded it up pretty heavily and gone for a few long road trips and it’s still in one piece. I have to imagine it’s not as strong as it originally was, so I hesitant to claim that it’s permanently fixed, but for now I think it’ll get the job done.  If this plastic cement eventually fails, I may try using some kind of fiber glass.

Gear List (click links for more product info):
Thule Mountaineer ESFree Shipping on Orders over $50